Back in September, I walked you through an aggressive closet cleanout (you can read that post here). By the end of my purge, I had two big bags that went to the local thrift store and a huge pile of stuff to sell.
When it comes to clothing sales, I typically sell in three places: Poshmark, targeted Facebook groups, and a consignment store. For this pile, I used all three resources, so let’s take a closer look at what sold, where, and how much I earned.
Poshmark
I’ve been selling on Poshmark for years and it’s pretty easy to photograph and post each item for sale. So, that is usually going to be my first stop. For this pile of stuff, I slowly worked my way through it and ended up adding 47 items to my Poshmark closet.
I figured I’d list everything for about 2 weeks or so, to see what sold quickly. Then, I’d go through and remove items that I would take to the consignment store (marking them as ‘not for sale’ once I dropped them off).
Here is what I sold on Poshmark:
- Anthropologie beaded belt – $15
- Anthropologie corduroy dress – $31
- Johnny Was blouse – $50
- Anthropologie floral dress – $28
- Vintage brown suede skirt – $40
- Anthropologie leather belt – $16
- Boden blouse – $15
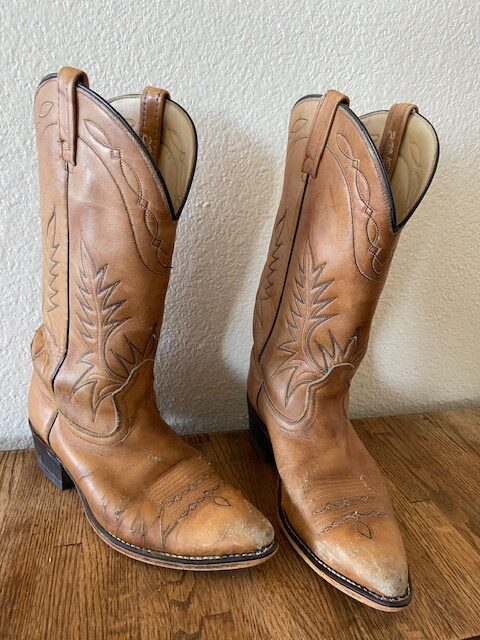
- Frye boots – $65
- Eileen Fisher sandals – $25
- Sezane blouse – $40
- Birkenstock sandals – $38
My total of sales was $363 before Poshmark fees (20%).
After about a month on Poshmark, I deleted any item that had 0 likes and added it to a donation bag. One more full bag of items was dropped off at the thrift store.
If you’re new to Poshmark, you can use my special invite code to open an account and get $10 off your first order. Just use: POCKETFULOFJOUL And here is a direct link to my closet: https://poshmark.com/closet/pocketfulofjoul. Feel free to make an offer on something if you love it!
Focused Facebook Groups
Some ‘specialty’ items sell better in focused Facebook Groups. A benefit is that you don’t have to pay fees (I typically use PayPal). However, you DO have to pay for your own postage. In this pile of stuff, I had one purse that I sold on the Rough & Tumble Fans Facebook Group for $190.
Consignment Store
I have a consignment store that I adore, that is about an hour away from my house. About 2 weeks after I posted everything on Poshmark, I removed 16 of the items that were accepted by the consignment store. According to their portal, I have earned $140 so far through my sales. After 60 days, I’ll collect any unsold items from the consignment store, pick up my check, and decide whether to donate them to the thrift store or re-add them back to my Poshmark closet.
My Earnings
As of today, here is my total for closet cleanout sales:
- Poshmark: $300
- Targeted Facebook Group: $190
- Consignment store: $140
Total: $630
I’m very happy to have done a full purge of my closet to get rid of a bunch of items I wasn’t wearing or loving anymore. It is nice to pass on things so that someone else can enjoy them AND I certainly don’t mind some extra money coming back to me!