I mentioned in my thrift post earlier this week that I thrifted a vintage Coach purse that was in pretty terrible condition.
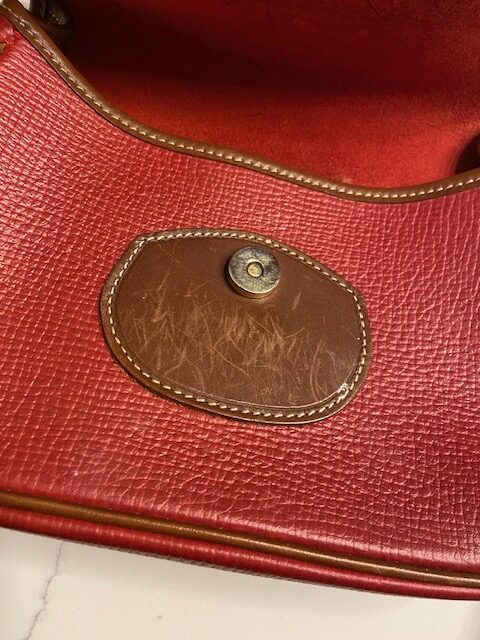
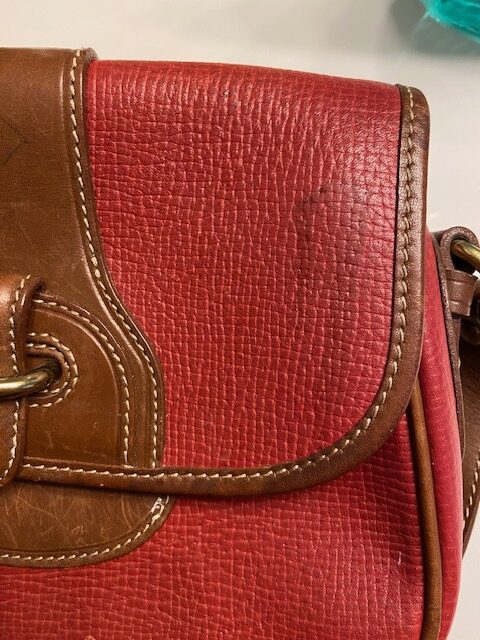
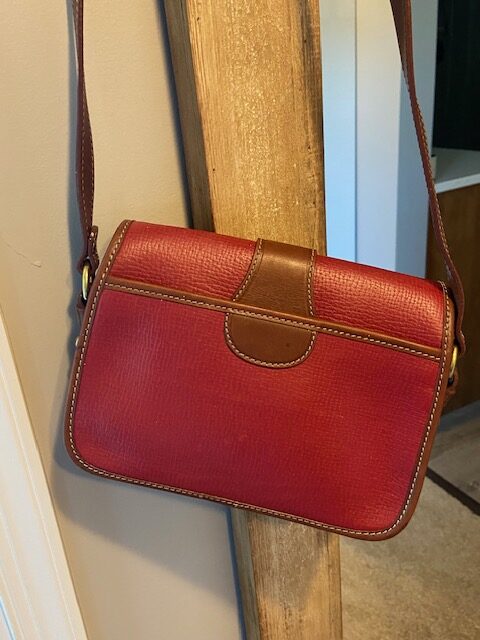
I loved the style and color of the purse, but when looking at it closely it had scratches, pen marks, weird dirty marks, and even what looked like some paint splatter on the back of it. I mean it WAS at the thrift store, so someone obviously decided that it was beyond hope and stuck it in their donation bag.

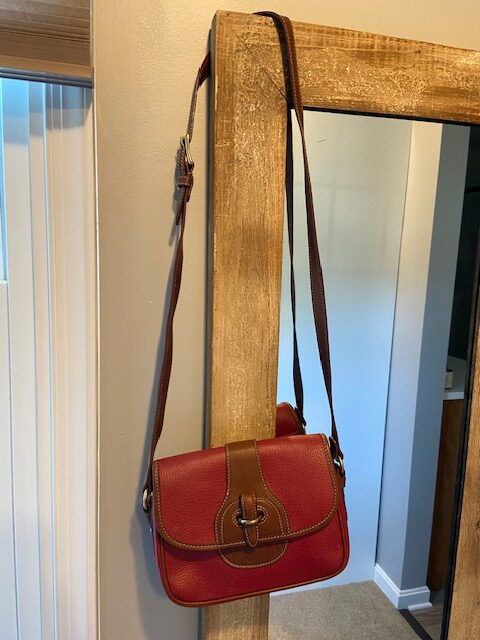
For me… it was a diamond in the rough. Or a $29 gamble. Because for $29 and whatever cleaning crap I could throw at it, I had the chance for it to look beautiful again.
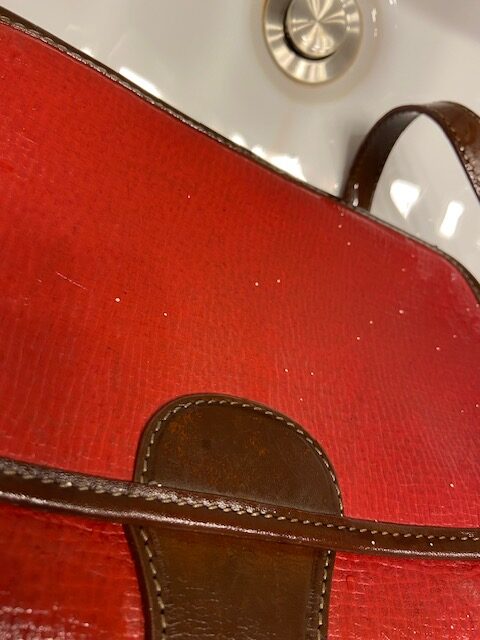
First up, I grabbed my handheld vacuum and sucked all the gross crumbs out of the purse. Then, I filled up my bathroom sink with cold water and added a squeeze of dish detergent. I stuck the entire bag in and just swished and washed it for a bit. I mean, it’s leather… so I figured water should be okay. And if not. GAMBLE.

So, swish, swish, swish. Sure, the red dye made the water look like a crime scene, but it also got out a lot of the overall yuck that had been going on. While it was wet, I scrubbed at the paint splatter with an old toothbrush and also just my fingernail to pop off each chunk of paint.

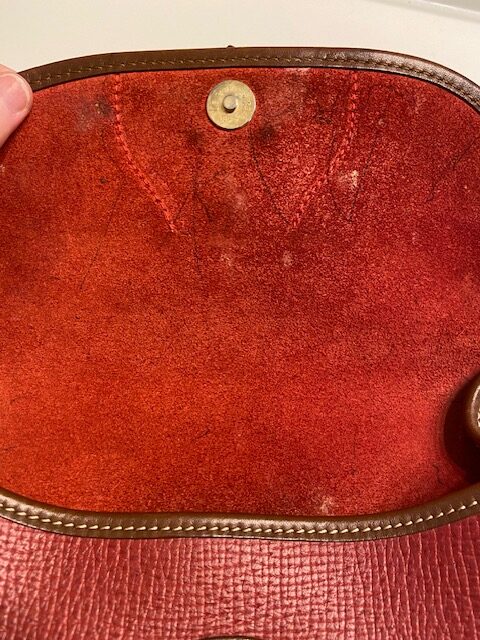
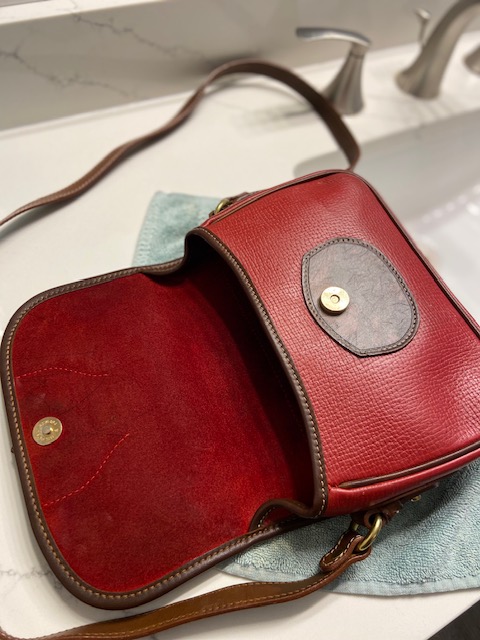
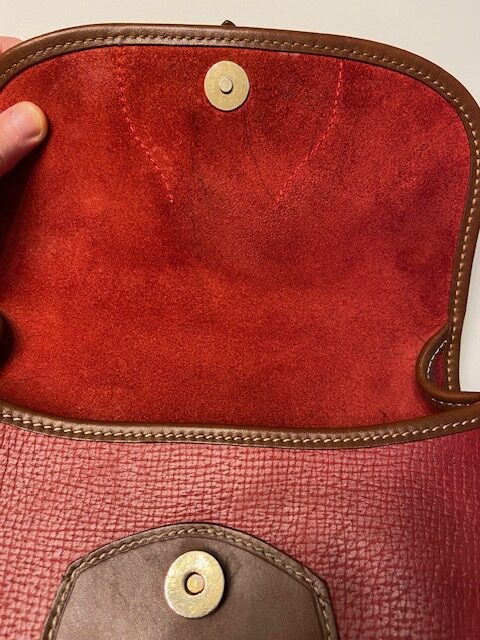
I also grabbed a thing of suede cleaner that I had sitting around in my ‘shoe care’ bin and gave the inside flap a good scrub. After another nice wash, I lightly wiped the entire purse (inside and out) with an old washrag. Then, I stuffed the purse with crumpled paper to keep it open and let it dry.

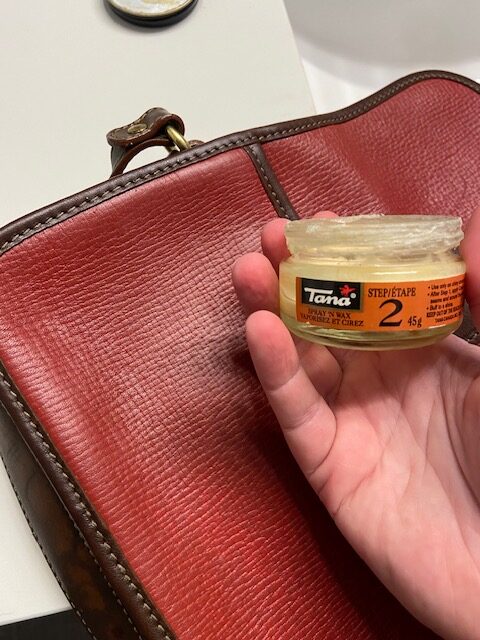
At this point, I also used some leather wax I had to polish up the brown scratched leather on the front of the purse. I applied it with my fingers and just rubbed it in really good. Then, once that soaked in, I gave it another round of leather wax massage until I saw some real improvement. I also gave all the brown leather edges a nice swipe with the wax because they looked a little thirsty.
Then, I stuck the purse on a shelf, got busy and ignored it for a couple days.
When I went back to look at it, I was pretty impressed! I was able to get ALL the paint splatter and overall yuck off the purse. Most of the pen marks also came out, and I could probably get the rest out with another round of suede cleaner if I felt like it. As for those brown leather scratches, they look SO MUCH better!
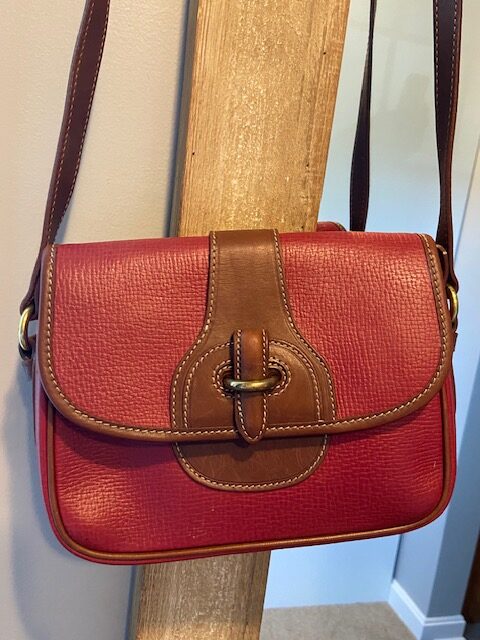
After I did my round of cleaning, I did some internet stalking of the bag and I found that it is actually a pretty rare bag from the Dakota collection. Each purse in the collection was made by hand in Italy and there was not a widespread release. The Dakota line featured structured box-grained water and stain resistant leather, an unlined interior, and polished brass hardware.
I can’t find this exact bag for sale anywhere (even in sold listings), but other colorways are reselling from $150 – 300. While I’m not looking to resell it, I am happy to enjoy its classic design for many years to come.
Also, I’m pretty pleased with my $29 gamble!