Updating the Jungle Room

Yes, I know – TWO decorating posts in a week. WHAT?! I told you I was a busy little chickadee over the long weekend. This time I attacked Jack’s nursery.

I wrote the original post about the nursery shortly after Jack came home from the hospital in March. Our theme was giraffes and monkeys and I just kind of threw the room together without putting in too much thought. Basically just moving into our house + popping out a preemie = not in the mood to bring it (or “consider it brought-en” as you will).

Each evening while hanging out in the rocking chair and feeding Jack his last bottle of the day, I’d look around the room and think about what I wanted to change. My mental list got longer and longer, until I finally had a chance to make some changes over Labor Day weekend. Nothing super huge, just a few tweaks here and there.

So, what did I do?

Pennant Update
I had made a fun little fabric pennant to go over Jack’s bed. However, I totally ran out of the ribbon when I was making it, so it ended up being kind of cheesy. Not having the time (or energy) to deal with it meant I tried to make the best of the situation by just hanging it over the crib. Now that I had some time to devote to the room, I made a super easy replacement pennant (my guest post with instructions is coming soon to Scribbletown.com) and ripped the old one down. The new pennant reaches all the way around the room and looks so much better. Also, since I literally stapled the fabric to the yarn it was incredibly quick to make!

The first version of the jungle themed baby pennant
Ooh, ahh check out that new pennant. The baby is pretty cute too.

Baby Bookshelves
I hated the way this wall looked with the stupid prints on it. They were just too small and dinky to be of any interest in the room. I added  bookshelves to the wall so that we’d have plenty of space to store all Jack’s baby books and love the way it turns into a pretty and colorful focal point. I blogged about the shelves in the Pinterest challenge post, but never shared the ones I did for Jack’s room. It makes such a world of difference!

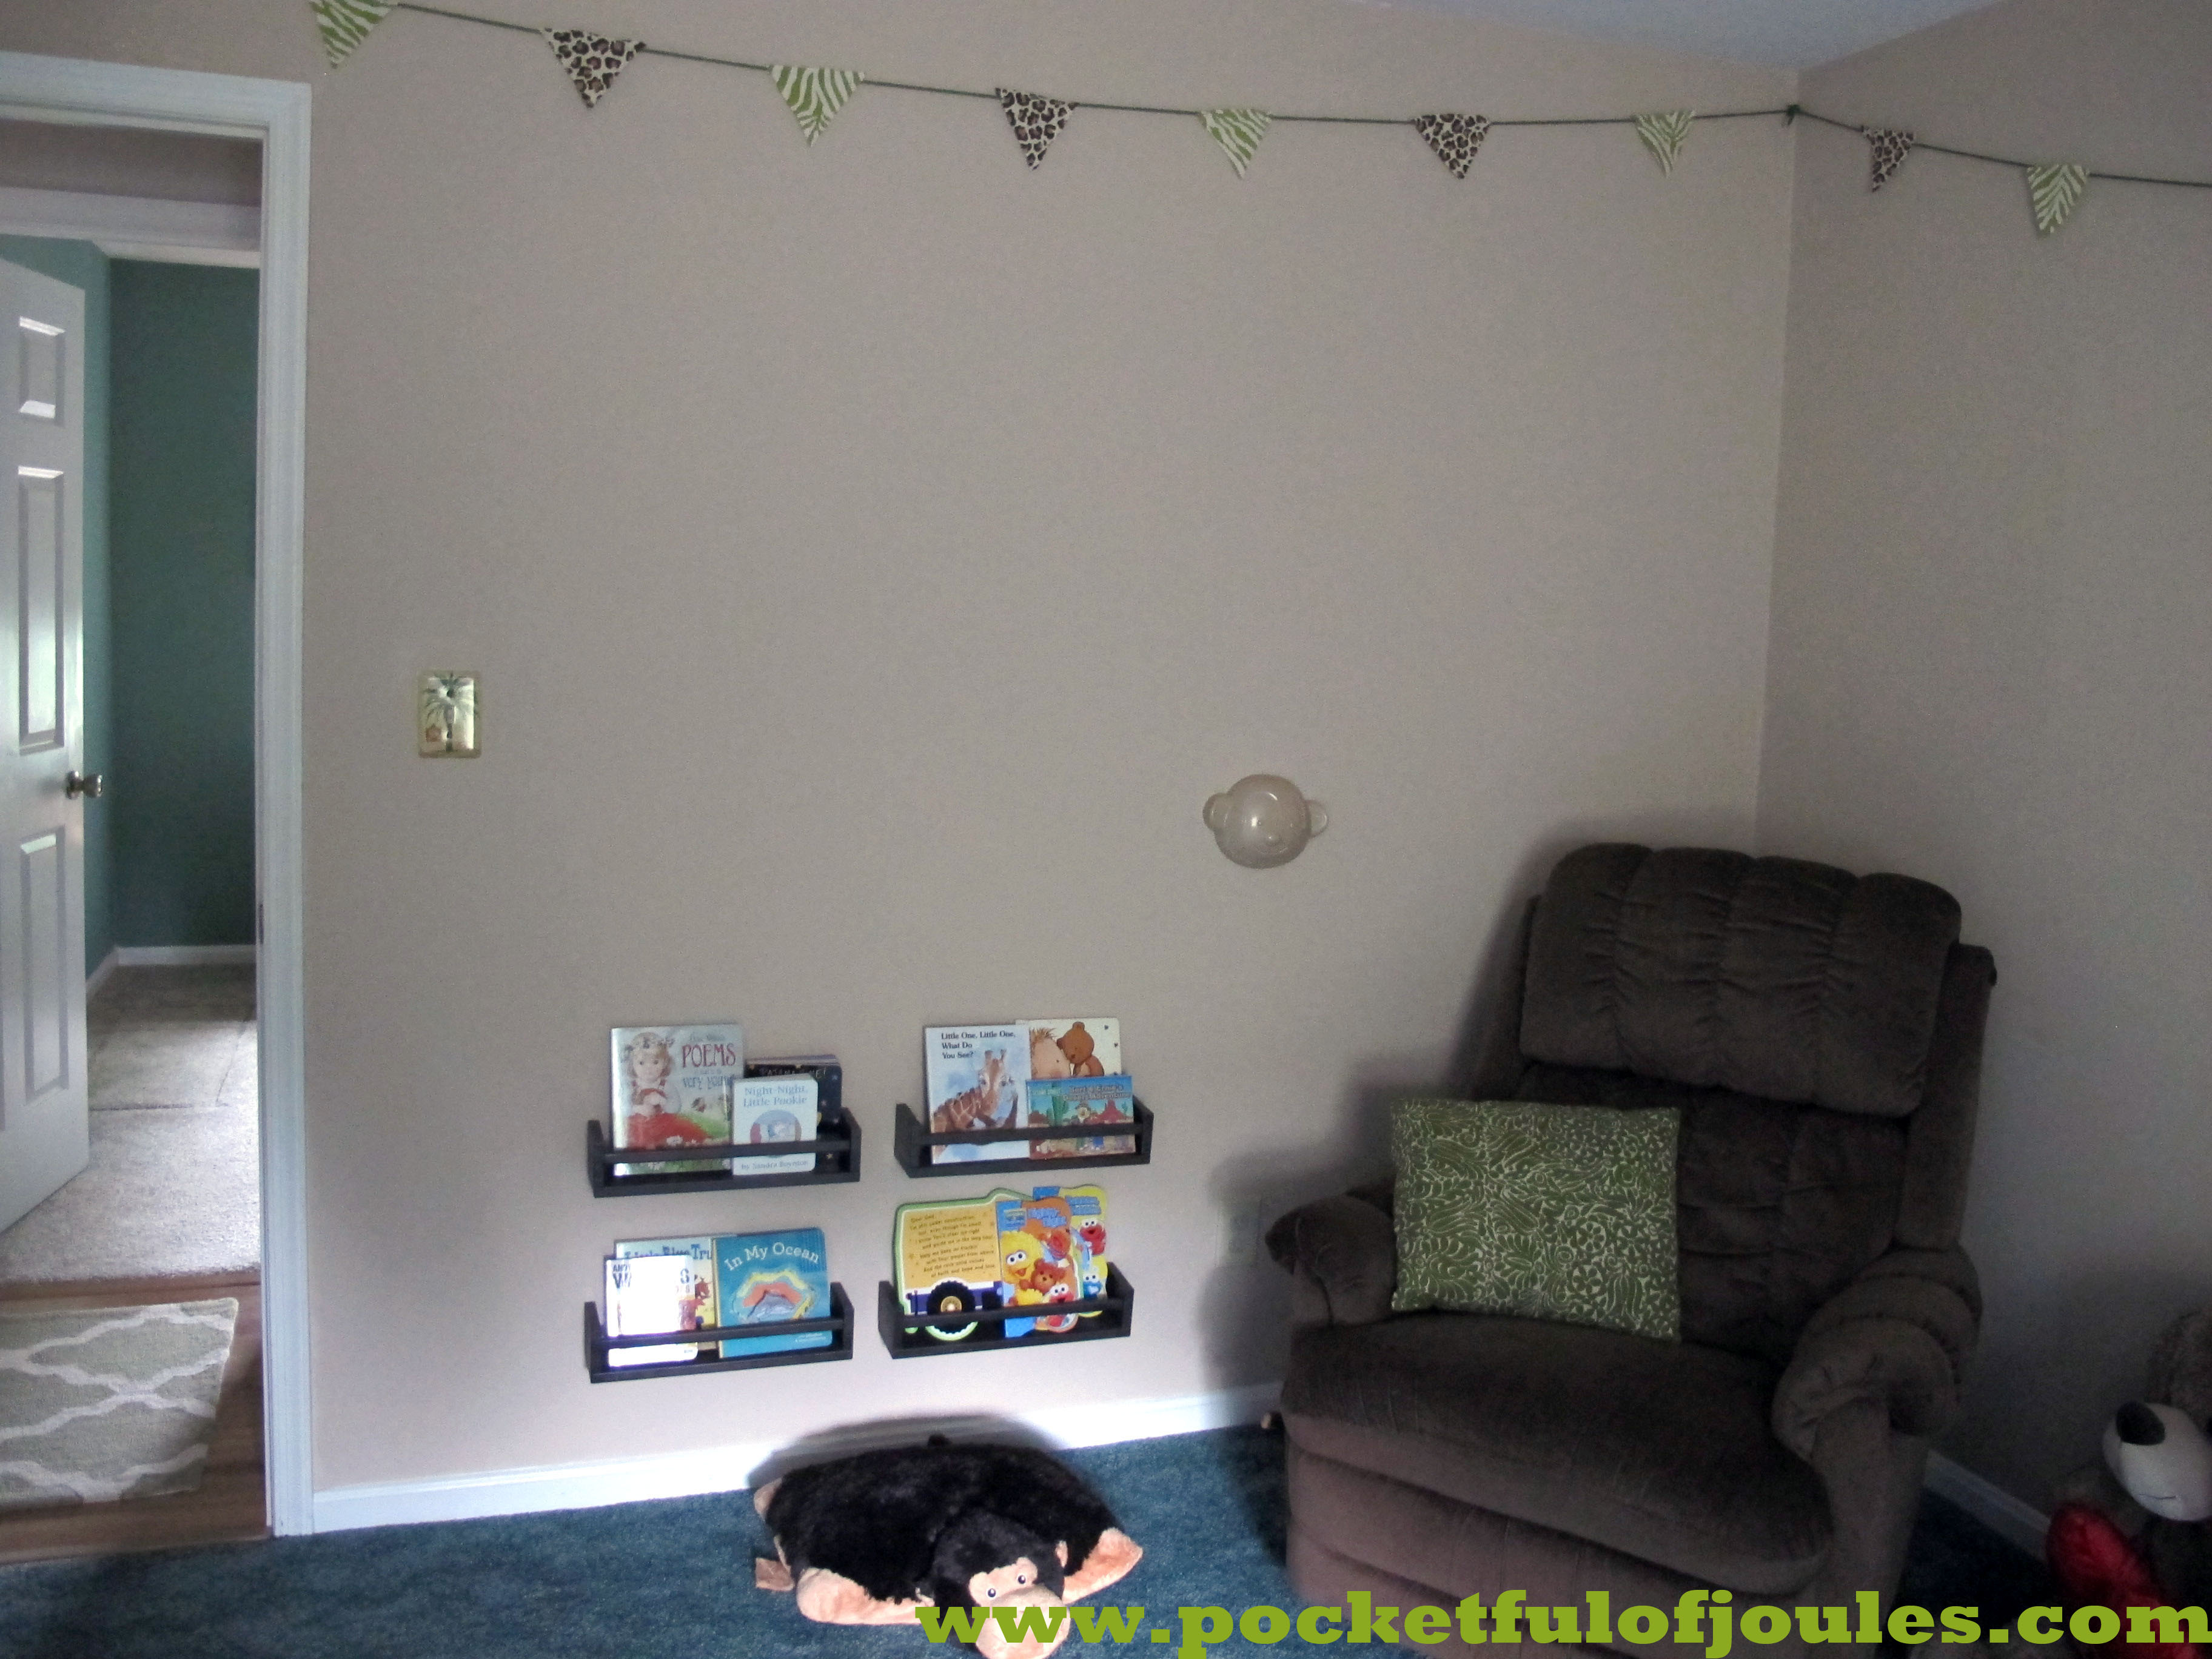
Old wall with dumb pictures
The pretty new bookshelves (which are actually $3.99 spice racks from Ikea). Still debating whether to add a third row of shelves, as I have two more leftover from the project.

Curtains
I don’t have a “before” picture of the window — probably because it was so uninteresting that I didn’t bother to photograph it. I made a super quick cafe curtain from some leftover fabric. Honestly, it was the easiest curtain ever; I just measured and cut out a big rectangle a couple inches wider than the window, hemmed it and used curtain clips to hang it from a cheapo curtain rod. I love the way the curtain finishes the room and it is totally child-safe since Jack can’t even get near to reaching it.

Easiest curtains EVER and the room looks so much more complete now!

Picture Update
In the first room design, I had framed scraps of fabric and hung them over the dresser/changing table. When I took down the jungle canvases to make way for the bookshelf project, I really liked the drawings but I just wasn’t a fan of the cheap way they were mounted onto the frames. They were only $2.50 each at Target, so I really can’t complain much. All I did was rip the canvas off of each frame (they were held tight by glue and came apart pretty easy) and then put them in my existing photo frames. So much better and Jack LOVES staring at the lion during changing time!

The old pictures — I framed three different kinds of fabric (the same fabric used for the original pennant).
The updated dresser view — these prints look so much better in frames.

So there you go, it just took a couple hours total to make some small changes, but now I feel like I can live with Jack’s room for a little longer. You know, until I get bored again and trash the whole place to redo it with a different theme!

How about you, is there a room in your house that just needs a few little changes to be liveable again?

Like what you see? Share me with your friends!

The Hunt for the Perfect Yellow Pillow

Be warned, I’ve been on a bit of a home decorating kick the last few days. So I have a few random home décor posts that I will be writing and posting over the next week or so.  The first of which is about my hunt for the perfect yellow pillow.

Some of you may think I’m pretty lame for obsessing about a stupid pillow when there are more important things to talk about, like poverty, world peace and how David Beckham is incredibly hot.

I can’t help it though, something gets in my head and I just get totally fixated. In this case, I decided that my house needed a happy yellow pillow (or two). It couldn’t just be ANY yellow pillow though, it had to be the perfect yellow pillow.

I found a couple options online, but they were either not exactly what I wanted or way too expensive for a stupid pillow.

I was at the point when I thought a trip to the fabric store was in order. But then when I was walking through Target an angel choir started singing (and it wasn’t just the holiday decorations that they put out in early September):

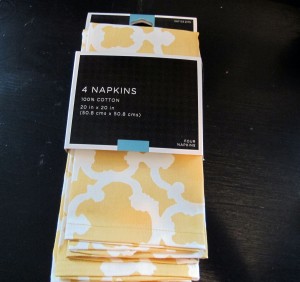
They may be napkins, but they are PERFECT!

Yep, yellow napkins from Target. And the best part was that a four-pack was only $9.99! So I snapped those babies up and skipped down the aisle. No, I didn’t actually skip because I’m a grown up and typically behave well in public. I shook my booty a little, that’s all.

Anyways, since I’m sure you are just dying of curiosity on how I transformed these napkins into the pillows of my dreams I put together this lazy and half-assed tutorial.

How to Sew a Pillow Out of a Pack of Napkins:
Supplies needed: 4 pack of napkins ($10), bag o’ fluff ($8), sewing machine, pins, thread, and needle for hand sewing. Time needed: about an hour-ish, depending on how fast you are with the sewing machine and whether you need to replace the bobbin.*

Admire the pretty fabric. Decide that it’s kind of wrinkly so bust out the iron. Now a real professional gal would totally wash these before sewing them, but I skipped that part so that I could finish this project while Jack was taking a nap.

Flip the fabric so that the wrong side is out and pin it every so often to keep it from scooching around while sewing it. Make sure to put the pins horizontally, otherwise you will stab the crap out of your hand when you’re guiding the fabric through the machine.

Sew baby, sew! Remember to leave an opening big enough for your hand to fit through on one side.

When you finish sewing, take out all the pins and flip the pillows right side out to check out your handiwork. Oooh, empty pillow bags.

Grab your bag o’ stuffing and fill the pillows through your handy little hole you left (you DID leave a space, right?!). Fill them up more than you would think you’d want them to be, because they tend to squish down over time.

Last step, grab a needle and thread and sew up your access hole. You may want to go with a thread that matches the fabric, but I tend to like to finish in a contrasting color for funsies.

Yay, done! And it totally only took about 1/2 of a Jack nap time from start to finish (aka 1 hour or so). I love the finished pillows AND since I had most of the stuff on hand the project only cost me $18 total. So much better than the inspiration pillows I was drooling over.

Here’s the finished look, be prepared to oooh and ahhhh:

Yet another photo bomb by Potter. He kind of matches the couch though, so I’ll allow it.

Love it! Did you do any super quick projects over the long weekend? Have you ever found a pack of napkins that you just couldn’t resist sewing into pillows?

*About replacing the bobbin, I don’t know why but every single time I need to replace it I end up cursing up a storm and throwing stuff around the room. I can put together Ikea furniture in a ridiculous amount of time, but the stupid sewing machine kicks my butt!

Like what you see? Share me with your friends!

Meet my Ugly Green Bathroom

Since moving into our new house early this year, I’ve been attacking each room like a home décor wildebeest. We’ve painted a few rooms, purchased some new things and DIYed a bunch of stuff, but there is still a ton of work to do.

Today I want you to meet the ugliest room in my entire house (it’s worse than the stinky basement): my ugly green bathroom.

Anyone like green? You know you’re jealous — it’s like peeing inside a lumberjack’s shirt.

Wow. Just wow.

It’s so ugly.
And so green.
And I hate it.

I hate it with a white-hot passion… or maybe it should be green-hot? Either way. Not. A. Fan.

Through the nastiness, there are a couple things that aren’t so bad – there is a halfway decent looking floor and good space to work with. Oh, and it’s clean. That is a huge improvement over some other bathrooms we saw when we were looking at houses.

You have to admit, it is pretty hideous though. What’s funny is that my ugly green bathroom was actually done that way on purpose by the previous owners of my house. The teal green pedestal sink* is Kohler, as is the matching teal green toilet. In fact, the bathroom “designers” were so nice as to leave us a replacement toilet seat (still in the packaging). You know, in case we somehow broke ours and wanted to replace it with another teal green seat.

Oh and did you notice that the bathtub is also teal green, with an oh-so-attractive frosted sliding glass door?

Yeah. It’s a freaking forest in my bathroom.

As an added bonus, whenever you clean the toilet, the cleanser leaves a ghostly white film in the inside of the green bowl. So it’s ugly AND looks dirty… even when it’s clean.

Oh, the horrors!

You’ve probably come to the same conclusion that I did: rip it all out and burn it!

So that’s what we’re going to do. The first thing to go was the wallpaper. I am not a fan of wallpaper in general and this wallpaper seemed particularly offensive to my eyes.  Look closely – it’s a horrible plaid with khaki and hunter green. Yes, more green. What the heck is up with the all the green??? Did the previous owners have some sort of fetish about peeing in the great {plaid} outdoors?

Whatever. It’s gone. We had a friend remove all the wallpaper from the entire house back when we moved in. Also, as a temporary measure to make the bathroom a little less dreadful, I hung a shower curtain OVER the glass door. It was just an old curtain from our last house, so it was totally free to stick it up.

A teensy bit better with no wallpaper and a shower curtain.

The only other change we’ve made in the past 6 months is that I got rid of the matching green accessories. Oh yes, there was a matching toilet brush, holder AND a matching plastic trashcan. Apparently, when you go with teal/hunter/ugly ass green, you really GO WITH green!

Besides our little changes, my plan of attack has been to just avoid that room altogether. We don’t have a ton of extra money right now to totally gut the place. Originally we were just going to paint it a complimentary color and call it a day, but I decided that I just can’t live with that.

So now that our schedule has slowed down a little, it’s time to focus on the ugly green bathroom.

Ugly Green Bathroom To Do List:

  • Take down the icky glass doors.
  • Sand and paint the walls.
  • Replace the shower hardware with something of better quality, including a handheld shower head so I can wash Jack easily.
  • Remove the broken hooks on the back of the door and replace with pretty ones.
  • Remove the medicine cabinet/lighting fixture.
  • Remove the teal green toilet.
  • Remove the teal green pedestal sink.
  • Stalk the clearance center at Reico for a new vanity and sink.
  • Install new vanity and sink.
  • Possibly replace floor.
  • Buy and install new sink hardware.
  • Find a cute mirror and hang it over the sink.
  • Buy and install a new lighting fixture.
  • Buy and install a new toilet.
  • Put up new shower curtain.
  • Buy and put up new artwork.

That should do it. As much as I’d like to replace the ugly green tub, that is going to be a budget buster. I’ve looked into one of those bath cover systems, but they’re super expensive. I also thought about trying to just pop out the tub and put a new one in its place, but apparently that is only possible inside my head.

So, it looks like we have some bathroom fun coming up in our future.

While it’s nice to have a list of things I plan to do, it’s also a bit intimidating that there are so many things that have to be done. Oh and everything costs money too, so who knows how quickly this project will be completed. Maybe I should send out a tweet: Will Write for Bathroom Fixtures!

Have you done a partial bathroom renovation? If so, do you have any tips you’d like to share for saving money?

UPDATE: Apparently this post comes up a lot when people are searching for replacement Kohler toilets in green/teal… so I’ve gotten a bunch of emails over the years asking to purchase my toilet. Sorry guys, I got rid of the toilet in 2012!

*I googled the pedestal sink and toilet (which is how I found out they call the color “teal” instead of “ugly ass hunter green”) and they apparently were sold for $563.00 and $417.00!

Like what you see? Share me with your friends!