I made a life changing update to our bathroom that cost $20. TWENTY DOLLARS! After spending a bazillion dollars on our recent bathroom renovation, this $20 addition as rocked my world. Or rocked my showers… at least.
Shower. Candles.
SHOWER CANDLES!
Why didn’t I think of these before?!
I’m not a brightly lit shower kinda girl. I prefer natural light from the window. Don’t worry, our window is far enough away from the shower that nobody sees a crazy naked lady singing at the top of her lungs in the shower when nobody else is home.
Anyways, I got my husband started on what I call ‘dark showers’ too. In fact, he started taking ACTUAL dark showers in the morning, because he gets up at 4am for work.
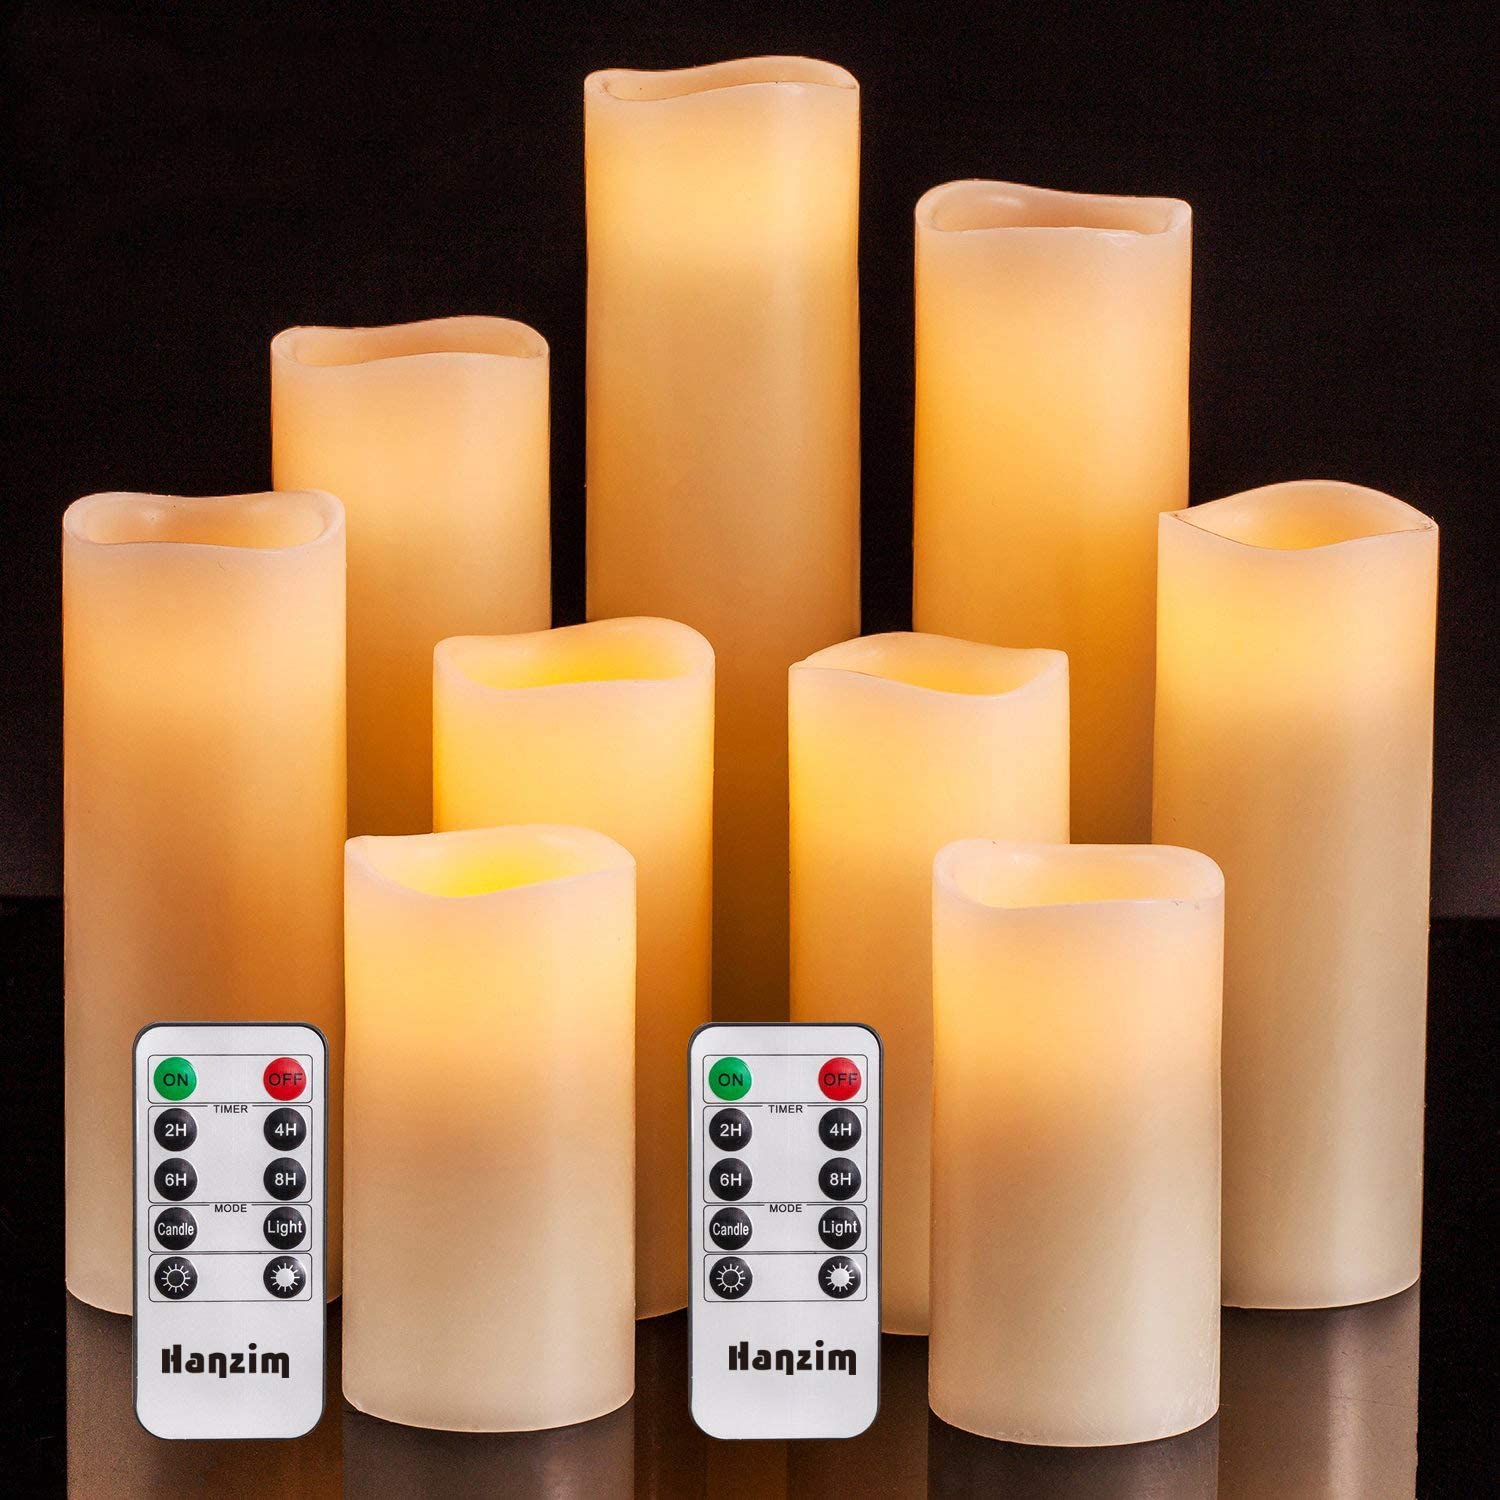
And then I had a light bulb go off over my head… we need some of those fancy remote candles.
I took a couple quick videos when received them. Check out the two modes: light or candle:
If you don’t have a shower the size of a New York City bedroom, you can totally put them on the countertop. However, we built our shower specifically for my giant husband’s wingspan… so we have plenty of room on the ledge that doesn’t get wet.
I put a few in each corner and it’s just so soothing:
I thought 9 candles seemed kind of excessive and was planning to only use a few of them… but OH MY GOSH, 9 candles is actually the exactly perfect number of candles to have the most relaxing shower ever.
Disclosure: This post contains Amazon affiliate links. This means that clicking on a link may help me earn a small commission at no cost to you.
After I did my little coffee bar refresh, I was still feeling bored with my kitchen. It just felt kind of dark and drab… where I wanted it to feel light and clean. When we moved in a decade ago, I had applied a peel-and-stick backsplash… so I decided for fun to rip the whole thing off and put a new one up.
Because that’s my idea of fun.
One of the questions I got on Instagram when I was posting about this project was: did I consider doing REAL tile and grout. And yes, I did consider it. However, I didn’t want to hire out the job and I don’t feel super confident in my tiling/grouting ability. So I decided to do peel-and-stick again, but a much FANCIER version.
So, what did I use?
The KASARO Peel and Stick backsplash in white hexagon (find them on Amazon here). When I purchased the tile, the cost was $29.99 per 6-sheet box. I purchased 6 boxes to make sure I had plenty, since at the time the Amazon link said it was running low. I ended up only using 4 boxes, so I returned 2. I have 5 sheets left, so I barely needed the 4th box… so I have some sitting around in case inspiration strikes.
I had all the tools sitting around (including a fresh pack of razor blades), so this entire project cost me $120 in tile and about $10 for a tube of caulk.
Unlike my last experience with peel-and-stick, this is an aluminum metal composite rather than a rubbery sticker. The tile is much stronger than the previous version, and is more “real” in that it is actual metal tile with a better hand-feel and extremely sticky backing. The difference between this and real tile, is that it sticks right on and no grout is needed. However, get your tile lined up the first time because HOLYMOLY is the adhesive strong!
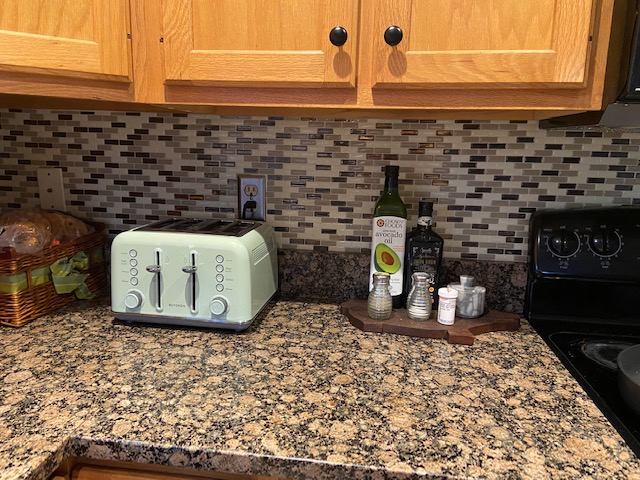
Here is our old backsplash I put up in 2012:
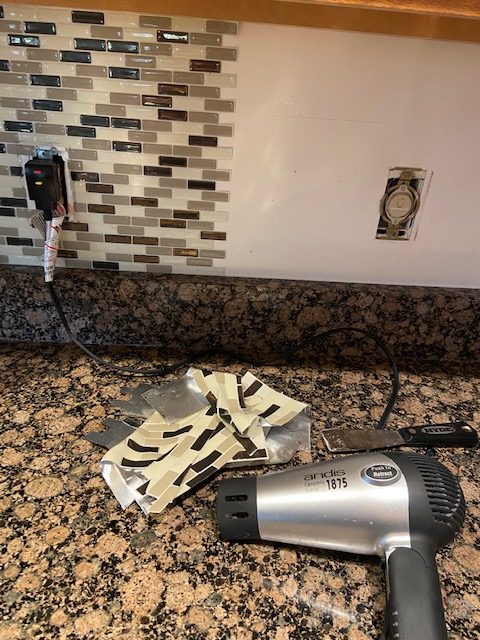
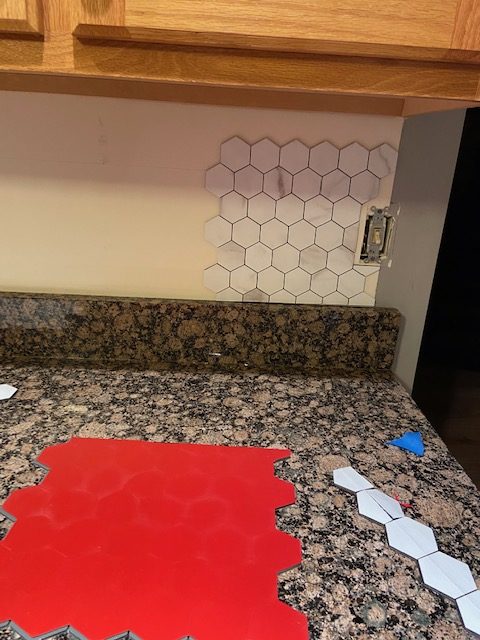
Once I removed the old backsplash (it just took a hairdryer, a spackle knife and some pulling action), I sprayed some degreaser and wiped down the white melamine backing that was left by the previous owners. Once it was dry, I started laying out my tile pieces. Obviously, I wasn’t lucky enough that a sheet exactly fit my spacing, so I measured out cuts for the top and bottoms of my sheets.
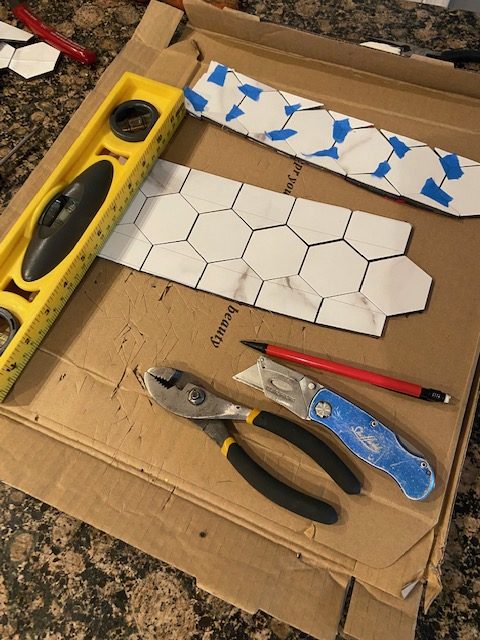
Since the tile is metal, you can’t just cut through it with a pair of scissors. Instead, I used a combination of a level (to measure and as my straight line guide), a fresh razor knife, a pencil and a pair of pliers.
I would mark my exact measurement, go over it 2-3 times with the razor knife, and then clamp on the pliers and snap it on the edge of the table. For every. Single. Hexagon.
My hands were SO TIRED after this project.
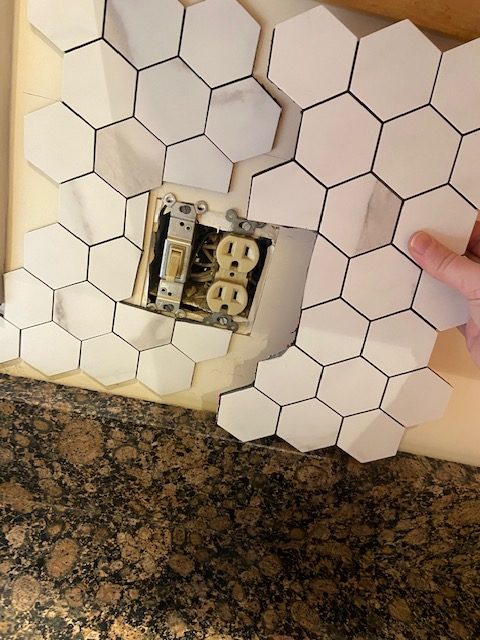
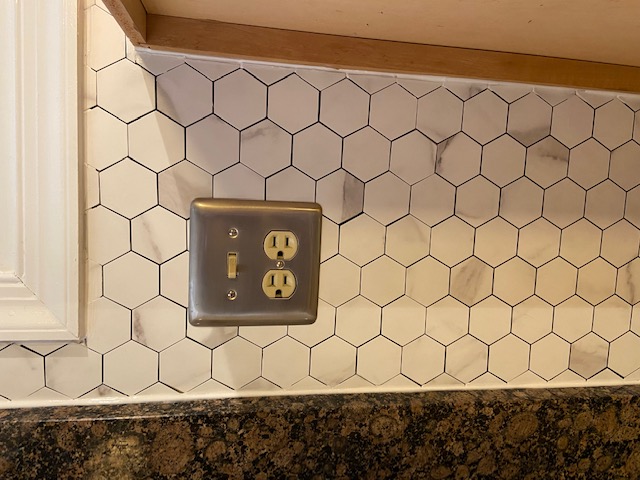
Once I had my perfect-sized shape, I’d take off the backing, carefully line it up on my wall, and stick it on. And of course, I’m a perfectionist… so I did the little-bitty points even though only people Jack’s size can see under the upper cabinets.
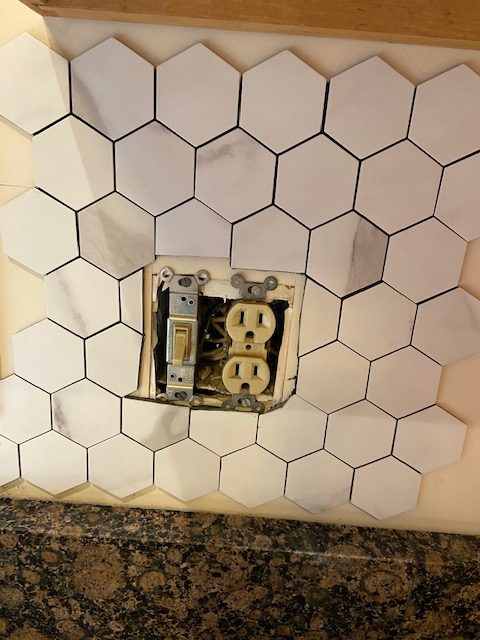
I ended up covering over our old phone line and cable line — I just took the switch plates off and shoved the wires back into the wall. Cutting around the remaining outlets wasn’t difficult, I just held up the pieces of tile and mapped out where I needed to snip a little:
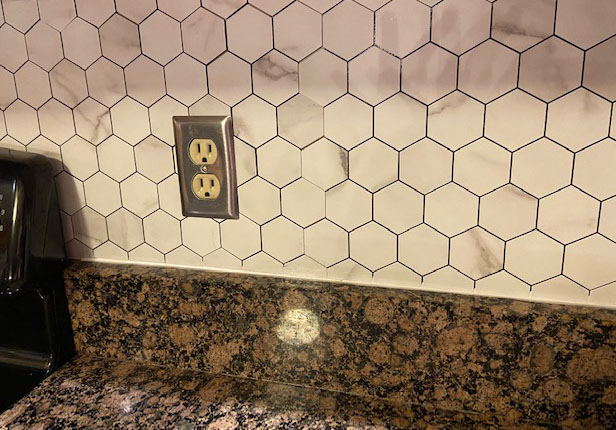
I worked my way around the entire kitchen and when it was all finished, I grabbed a tube of caulk and did a nice line of white silicone around all the edges. This really took the project from ‘looks okay’ to ‘looks professional’… so I highly recommend caulking as a last step!
Before caulk:
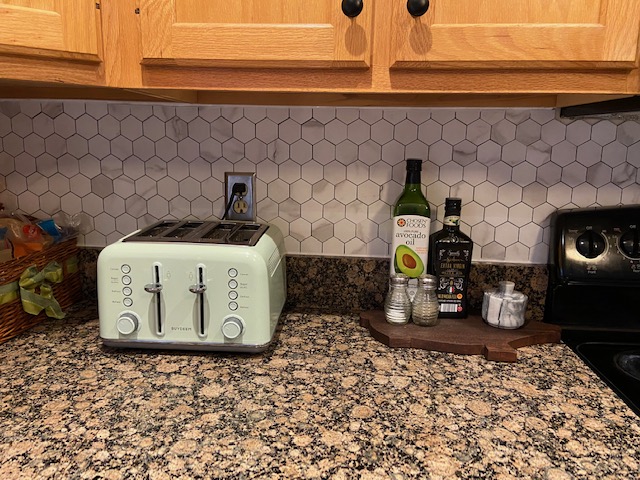
After caulk:
I wasn’t keeping track of exactly how long the project took me, but thankfully the progress photos I took are time stamped. According to my phone, I spent about 3 ½ hours on Saturday night and then about 8 hours on Sunday. Which means the full project took me about 11 ½ hours.
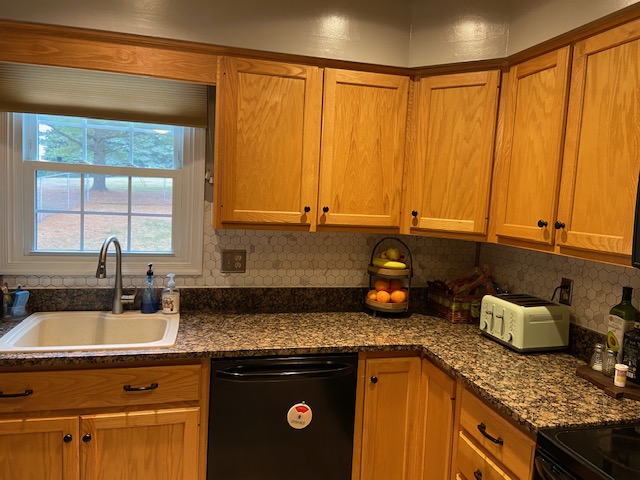
Here’s the “after” for $130 in supplies and 11-ish hours of work:
I am so thrilled with the result!
Disclaimer: This post contains an Amazon affiliate link and ShopStyle affiliate links. This means that clicking on the link may help me earn a small commission at no cost to you
This isn’t a renovation or reveal post. It’s more like a reminder of an easy way to give your house a little refresh. I often forget that I can just do a little purge, move some things around and repurpose items I already own to result in something a little more delightful.
Which brings us to my little coffee nook. Or, Coffee Bar if you’re fancy.
Recently, I decided to upgrade my coffee experience by adding a Nespresso machine to the mix. I’ll do a full review once I’ve used it a bit longer, but long story short… it’s awesome. However, before I added a second machine to my little caffeine smorgasbord area on our countertop, I felt like it needed an update.
So, obviously I googled “Coffee Bar” and was immediately overwhelmed and intimidated by the sheer number of amazing coffee set-ups people have in their homes.
I already had a good space that made sense though. So rather than doing an overhaul… I really just needed to do a little spruce up on what I already had.
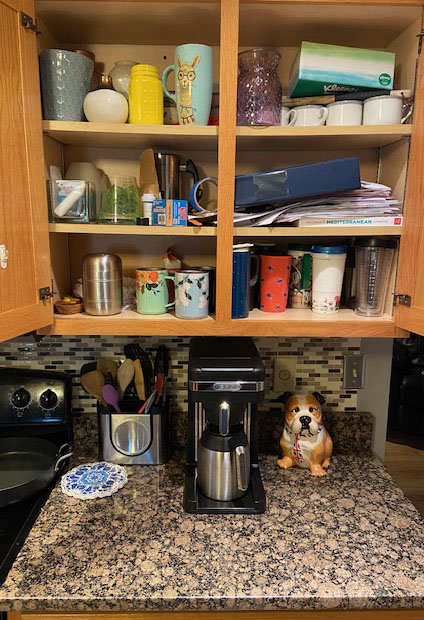
There was certainly room for improvement:
The cupboard above the space holds a jar of coffee grounds, mugs, and travel mugs. It also has vases, random school papers from this quarter, a binder of recipes, and all-around junk. So, I started by sorting through there and giving it a little purge.
I learned back when I was obsessed with that Marie Kondo show on Netflix that I should repurpose boxes to keep my space organized. Luckily I found an abandoned shoe box that was the perfect size for all those school papers precariously balanced on the second shelf. I also re-homed random items that didn’t belong in the kitchen.
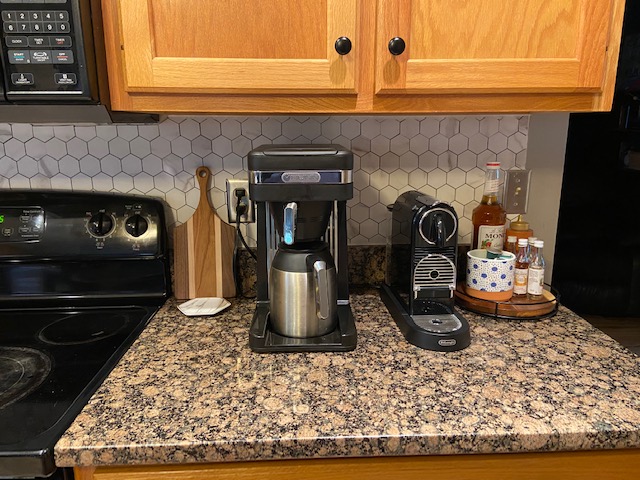
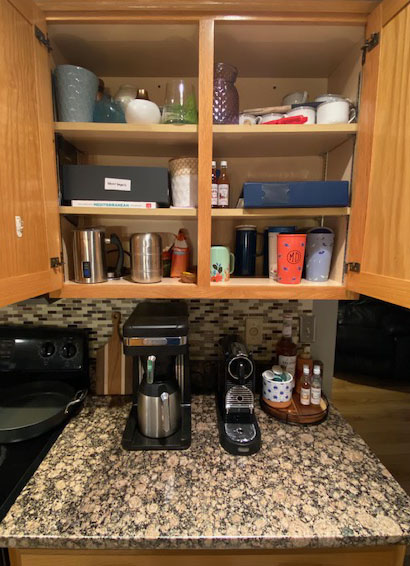
As for the countertop area, when I picked up the trivet to clean it, I realized it was actually cracked in half. So, into the trash it went. The container of spatulas and wooden spoons were organized into the drawer below. My dog cookie jar found a new home. And most importantly, I added our new Nespresso machine and a cute lazy susan with pods and flavor syrups.
Much neater, and super functional. The only new thing I bought for the area is the lazy susan, which was less than $20 (It’s this one from Amazon). I mean, I technically also bought the Nespresso machine and syrups, but I’m calling them a Christmas gift for myself.
The cute blue dotted jar once held a plant that I inevitably murdered. I bought the caramel at the grocery store and it has already gone into heavy rotation with my coffee creations.
We’ve had the new caffeine situation for a few weeks now and it’s super functional. Sure, it’s not as fancy as some of those Coffee Bar set-ups I found when I googled for inspiration. But I’m really happy with it!
Pssst: I also have another kitchen update to share soon… which you may have seen on my Instagram Stories (for those who missed it, it’s saved under Home DIY on my IG account).
Disclaimer: This post contains an Amazon affiliate link. This means that clicking on the link may help me earn a small commission at no cost to you