Master Bathroom: Demo Day & Progress

We are FIRMLY in the ‘it gets worse before it gets better’ stage of our renovation project. The stage where there is a light dusting of drywall dust all over the house, everything is a mess and things are displaced into weird rooms.

You know, this stage:

As I mentioned in my planning post (Master Bathroom Planning: The Before), we knew this project was going to snowball. In order to turn our spare room into a master bathroom and walk-in closet, it was going to impact not only that room but our bedroom, living room, kitchen and current master bathroom.

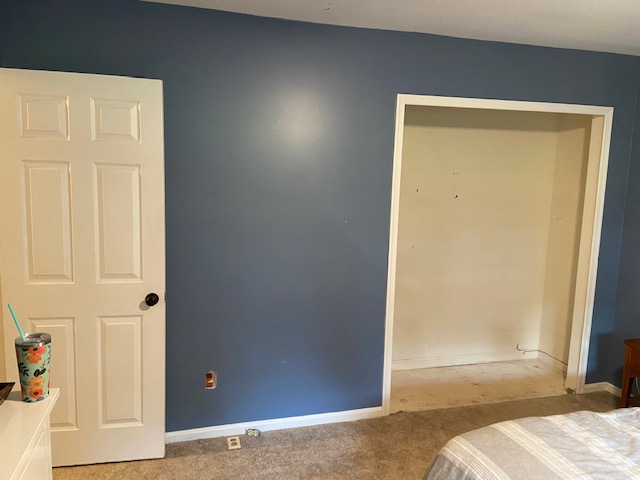
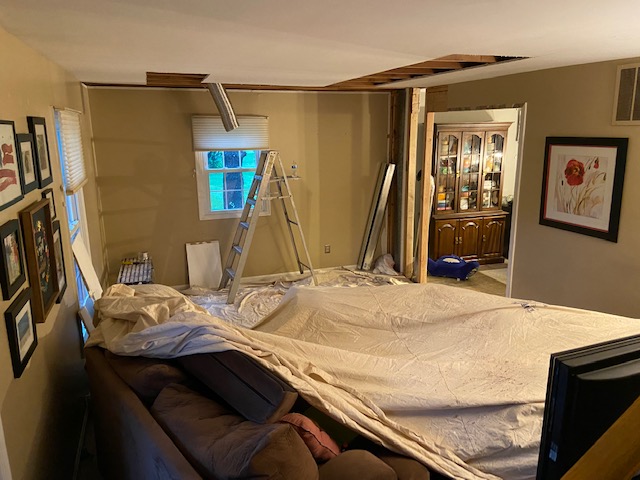
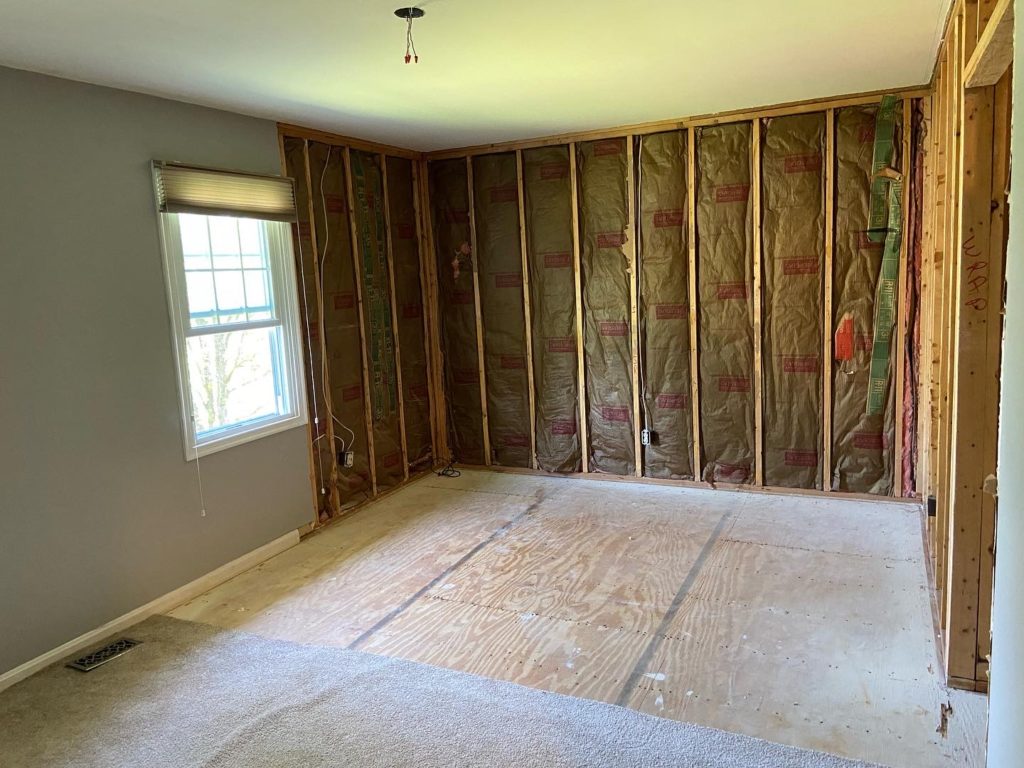
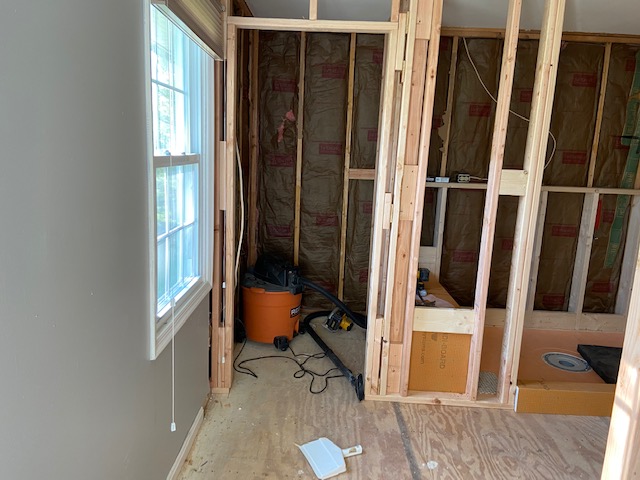
We started with Demo Day on Sunday, April 24th. My dad, Travis and I ripped out 3 walls of drywall, the carpet and ceiling fan in the room that will become the master bathroom. We also ripped open the wall and part of the ceiling in the living room/kitchen to make way for plumbing and heating.

And yes, I yelled out DEMO DAY before ripping down a wall with my bare hands. As you do.

Here are some pictures from that first day:

Bathroom side:

Living Room:

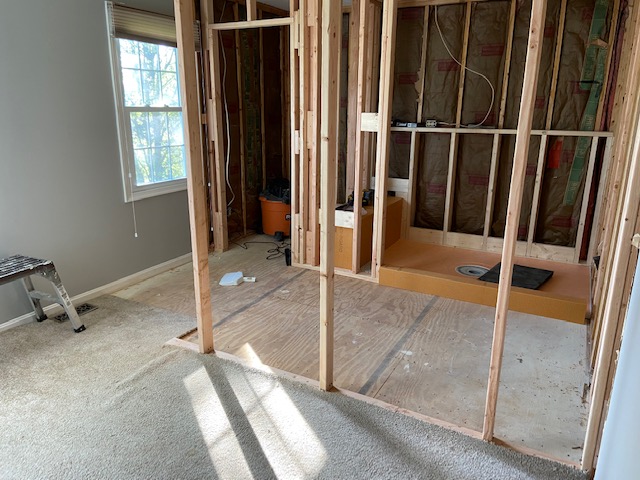
Then, the following Friday, my dad and his helper framed in the new space and put the shower stuff where it will go in.

Last week, things got a bit more interesting. And messy.

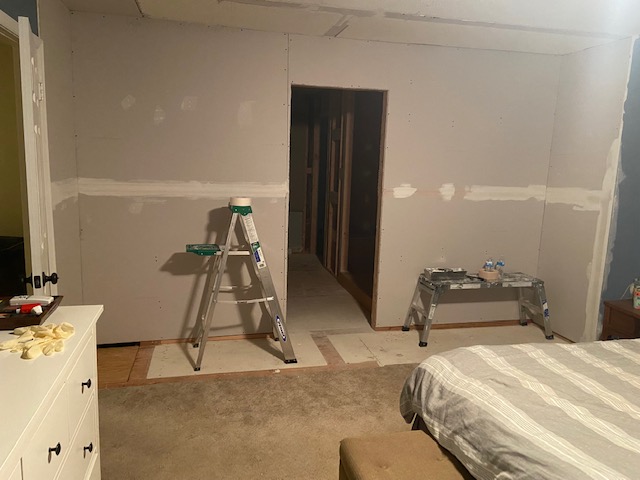
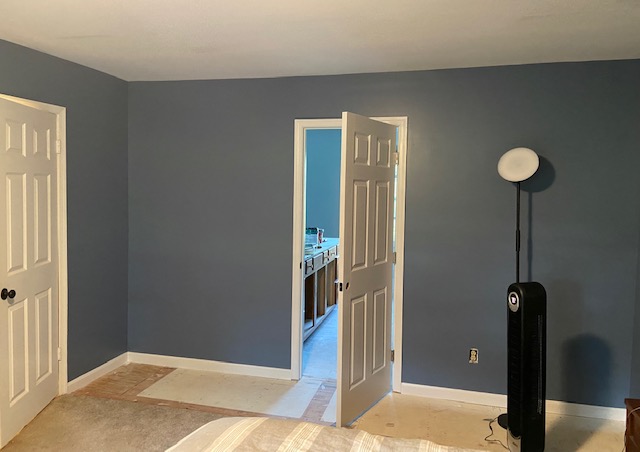
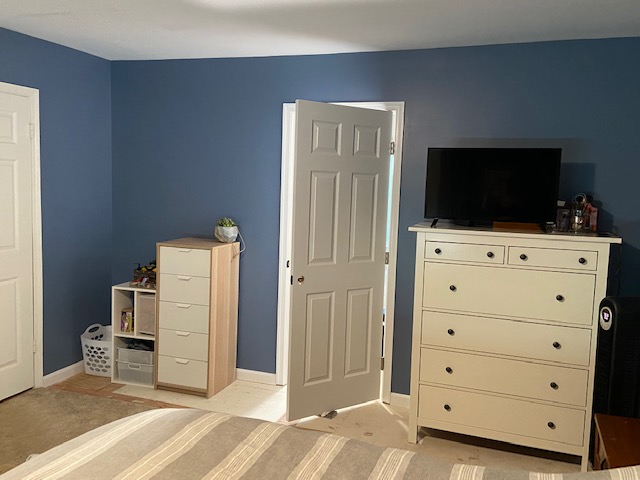
On Thursday, my dad and his helper did more framing, added some drywall, moved around some electrical outlets/switches and started working on the shower situation. Then, on Saturday, my dad took down the drywall between the new master bathroom and our bedroom and re-framed and drywalled a new wall which made our bedroom 26” bigger.

The plumber did the first day of his 2-day job where he started running all the plumbing from the basement, through the living room and up to the new bathroom. This meant my dad had to take out MORE drywall in the living room, which resulted in a total mess. I left the house for the day, so Travis assisted my dad and according to him walked up and down the stairs a billion times.

Here is where we are now:

Same view as above of looking into the closet/bathroom:

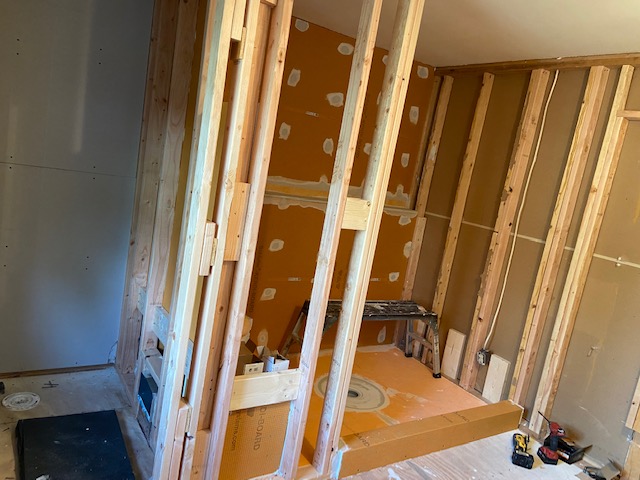
Current status of the shower:

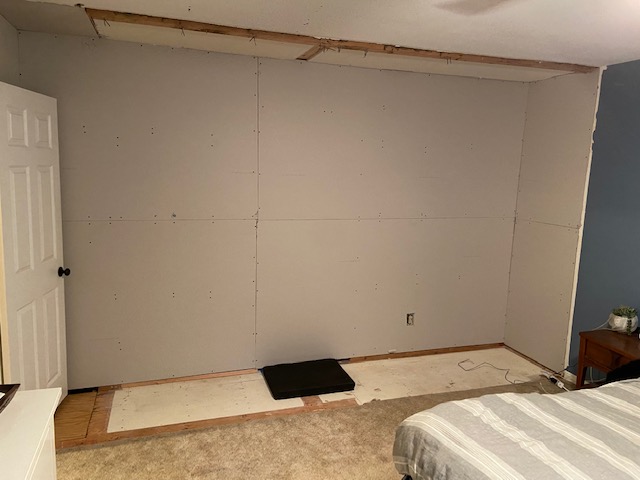
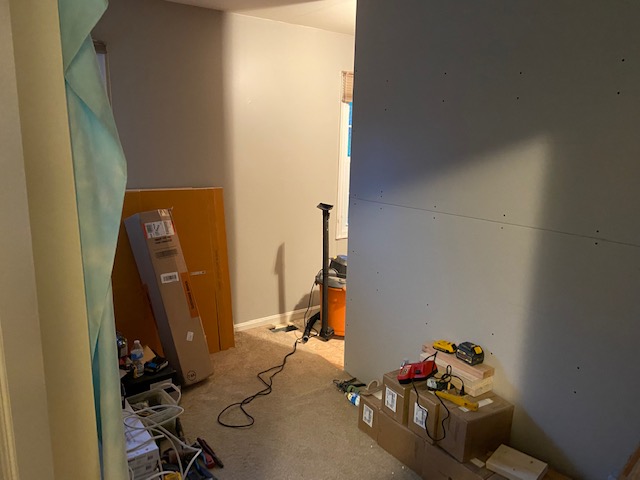
The view of my bedroom wall when I left the house on Sunday morning:

And the view when I got home (the black mat is where the door will be):

And my living room right now:

As I mentioned… A MESS. But a productive mess? This is exactly 2 weeks into the project and I think this is as bad as it’s going to get before it starts getting better. Or, at least that’s what I’m telling myself.

Like what you see? Share me with your friends!

My Office/Exercise Room Hybrid

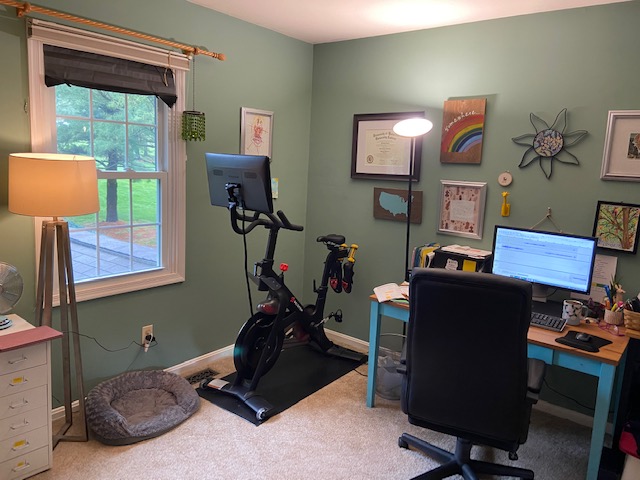
With the demolition of my spare bedroom to become a master bathroom and walk-in closet, my ‘exercise room’ needed to find a new home. With everything being displaced for the renovation project, space is at a premium… which means my office needed to work double-duty and it became an office/exercise room hybrid.

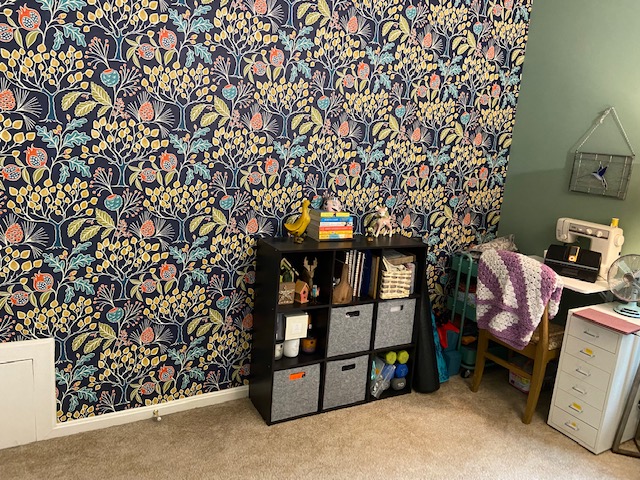
My office is a room that already has a lot going on. On one side of the room is my sewing table and organizer that contains everything crafty.

On the other side, is my desk where I telework 2 days each week.

I started by cleaning out the closet (it’s not in the photo, but it exists on the wall to the right of the desk) and dragging my gigantic filing cabinet over to live in there. It’s not SUPER convenient, because I have to remove a bunch of bins in order to access the lower filing cabinet drawers, but eventually when the walk-in closet is done there will be a little more breathing room. Also, it’s nice to have the filing cabinet out of the main room.

I also moved the black storage table that holds my printer to the right side of the desk and moved the white drawer set over next to the sewing table.

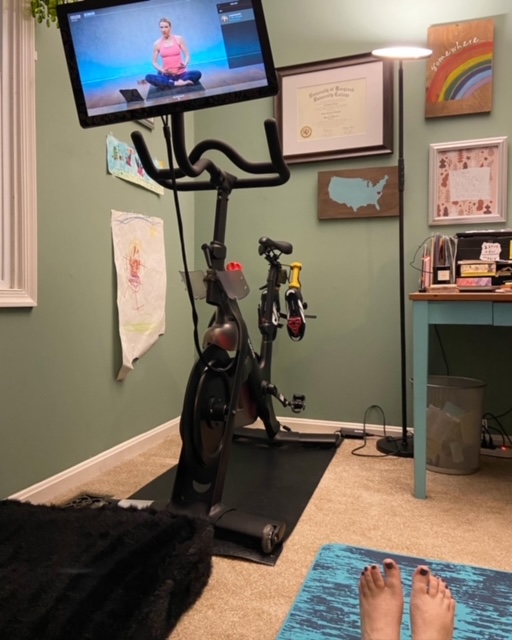
This freed up just the perfect amount of space so that I could add my Peloton and mat to the corner of the room.

Other tricks to make the most of my space:

Trick 1: I bought The Pivot for my Peloton screen, so that I could flip it around and do my weights and yoga sessions in the open space in the middle of the room.

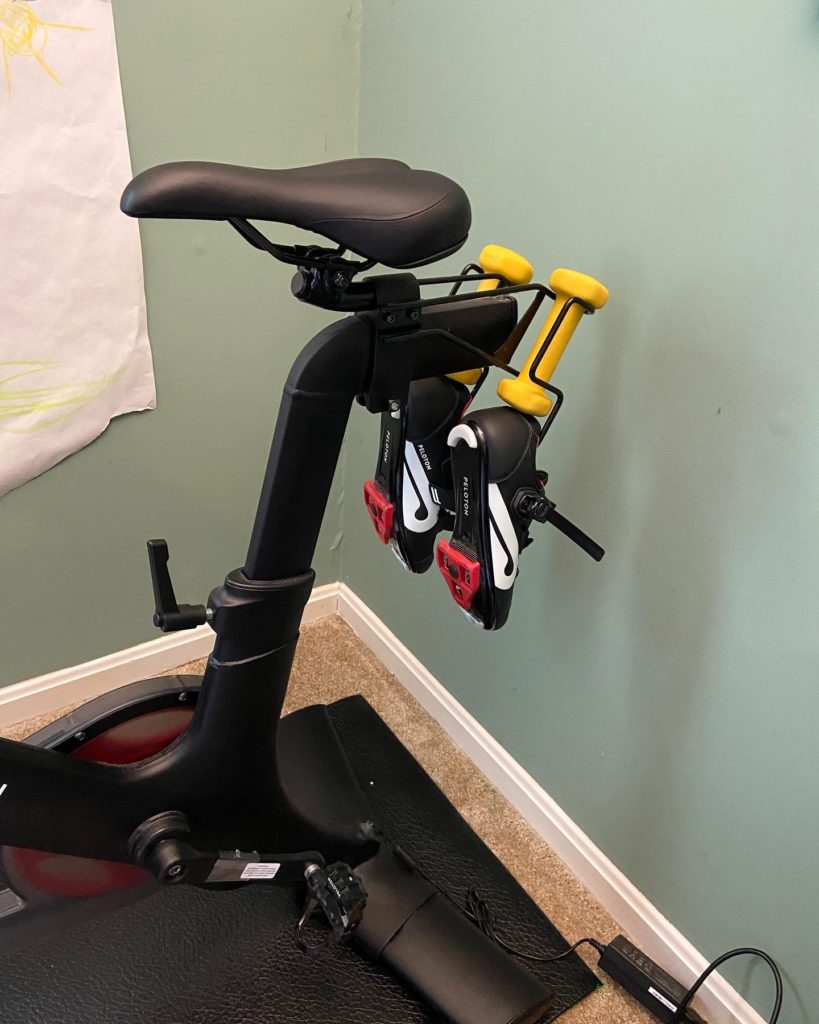
Trick 2: I hung my bike shoes on the back of the bike, instead of having them take up space on the floor or in an organizer.

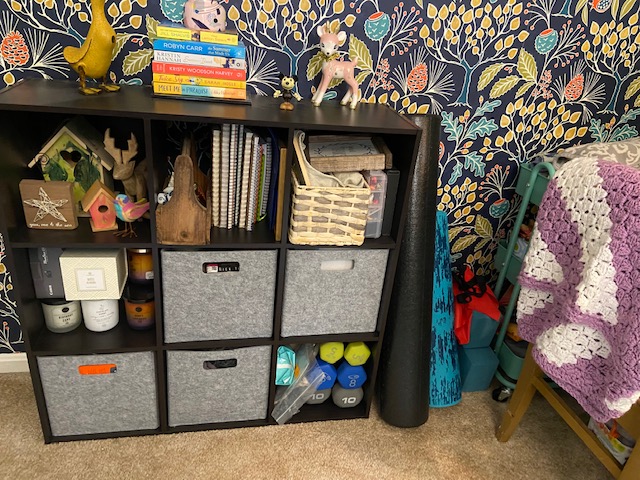
Trick 3 and 4: I rearranged my craft storage to open up one cube, which is where I now store my hand weights and bleach wipes. I also used the spare bit of space next to my cube bookshelf for my yoga mat, yoga blocks and foam roller.

This is the long-term situation for this room, so I’m happy with how it all turned out. Here’s the before & after again:

Organizer side of the room:

Desk + bike side of the room:

I have space to comfortably use the bike and now that I can flip my screen around, I have room for yoga, stretching or weights sessions. The best part is, everything is out of sight when I have to log into a Zoom meeting from home!

Disclaimer: This post contains an Amazon affiliate link. This means that clicking on a link may help me earn a small commission at no cost to you.

Like what you see? Share me with your friends!

Master Bathroom Planning: The Before

Over the years, I’ve mentioned our plans to eventually turn our spare bedroom into a master bathroom and walk-in closet combo. Lately, the room has been serving as half walk-in closet and half exercise room. However, my dad has an opening in his schedule so the master bathroom is on the horizon!

For your convenience, here are a bunch of posts that take you through all that:

So, over the last few months, the exercise portion of the room went from this:

To this:

I moved our wifi set up, took down the border, spackled, painted the whole room, sold the non-Peloton bike to a friend, moved my Peloton, weights and yoga mats to my office, and Travis and friends took the elliptical apart and relocated it to his garage. Oh, and we also cleaned out the closet on the right-hand side of the room that was shoved full of the most random assortment of stuff you can imagine.

The rest of the room currently looks like this:

My walk-in closet in progress is on one wall and I’ll be throwing up some sheets to keep everything dust-free when the construction starts.

So, this project is about to snowball really quickly.

What we want:

  • A new master bathroom
  • A finished walk-in closet

What we are going to get:

  • A new master bathroom.
  • A finished walk-in closet.
  • New heat ducting running from the basement to the new bathroom.
  • New plumbing running from the basement to the new bathroom.
  • Our cased opening between the kitchen and living room reducing by 1 foot each side, for the new heat ducting and plumbing.
    • Resulting in: new drywall, trim, re-painting the kitchen, re-painting the living room and entrance.
  • Gaining 2 feet in space in our bedroom due to a wall moving.
    • Resulting in us having to re-paint the bedroom and re-carpet the bedroom. We will eventually be upgrading to a king-sized bed in the new space, which means new furniture, sheets, duvet covers, etc too.
  • Taking the old ‘master bathroom’ down to the studs and capping off the old plumbing to make a ‘his’ closet for Travis.
    • Resulting in: new drywall, trim, lighting, paint, carpet and closet accessories.

I think that’s most of it. I’m sure there will be more.

Right now, my dad is collecting everything we need for the project. Some items are scarce and hard-to-find due to supply chain issues, so we don’t want to rip things apart until we know we can put them back together.

I’m pretty sure the first thing he will be doing, is opening up the drywall so that he can run plumbing and heat ducting. Next will be building the new wall, which will make the bathroom and walk-in closet two separate rooms. I’m hoping to keep the existing carpet in the closet, as it is still in good condition. Fingers crossed! Also, once a new wall goes up, I can finish the walk-in closet, which is pretty exciting.

As for bathroom design, I’m planning to keep it super classic. We already own the cabinets (sourced from an old job by my dad), which I will be refinishing and painting dark blue. I’m going to do white subway tile for the shower walls, gray penny tile for the shower floor, and a gigantic glass door. The floor for the bathroom will be a gray plank vinyl.

As I said, the cabinets will be dark blue with a white marbled top and I’m hoping for a bit of a gray vein running through it. There will also be a poop closet for the toilet. Because, smells.

Source: HomeDepot.com

None of these are the actual exact things we will be using, but I just grabbed some inspiration images off the Home Depot website to give you an idea what we’re going for. I want to stick with super neutral and classic finishes, so that I can easily change things up with accessories without the room feeling dated at any point.

And here is my completely thrown together (not using any actual measurements) plan of where things will go:

Just use your imagination. It will be great!

I hope.

Like what you see? Share me with your friends!