Master Bathroom Planning: The Before

Over the years, I’ve mentioned our plans to eventually turn our spare bedroom into a master bathroom and walk-in closet combo. Lately, the room has been serving as half walk-in closet and half exercise room. However, my dad has an opening in his schedule so the master bathroom is on the horizon!

For your convenience, here are a bunch of posts that take you through all that:

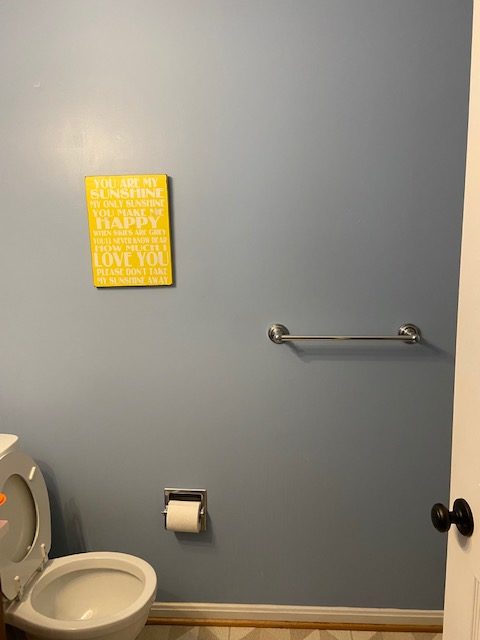
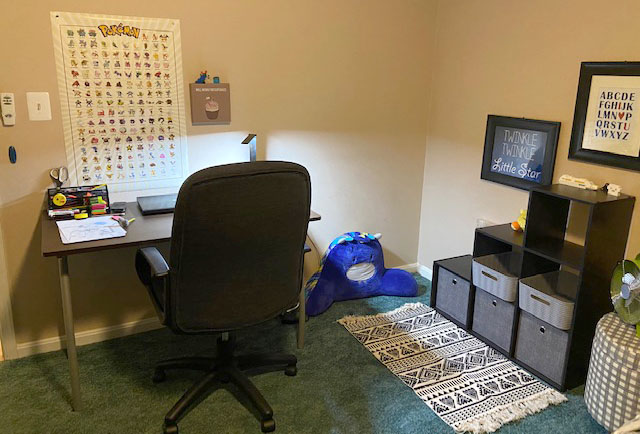
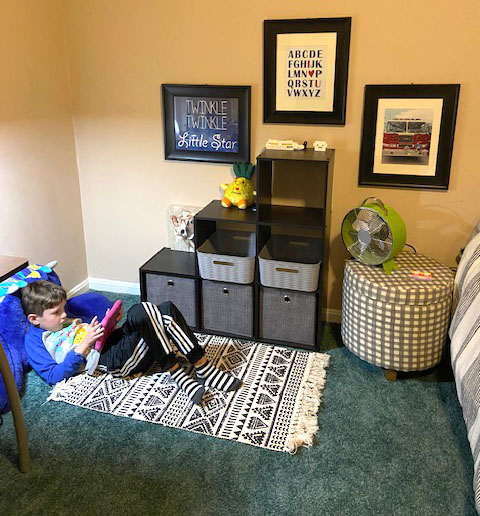
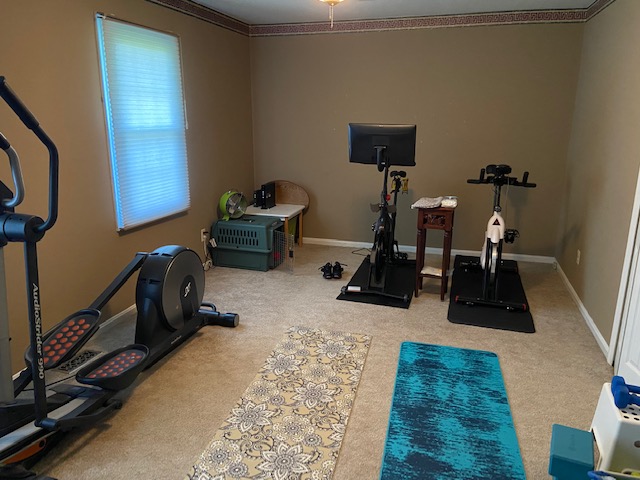
So, over the last few months, the exercise portion of the room went from this:
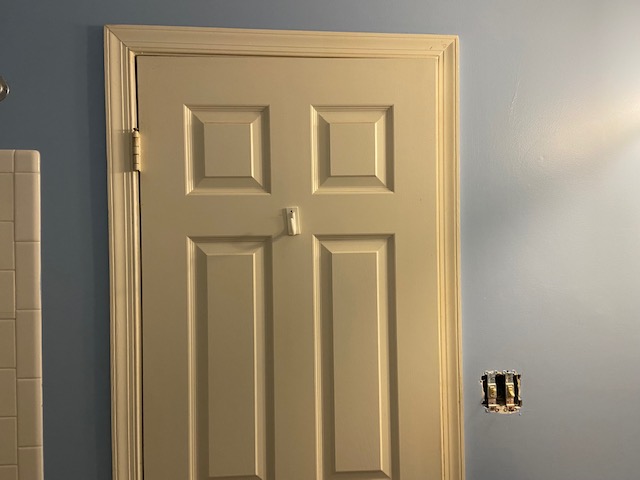
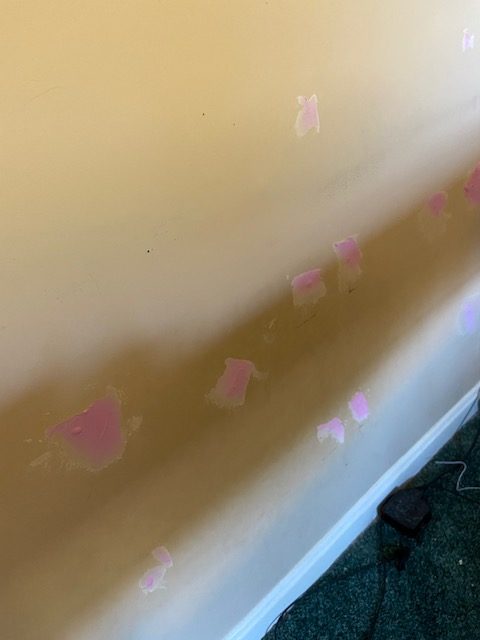
To this:

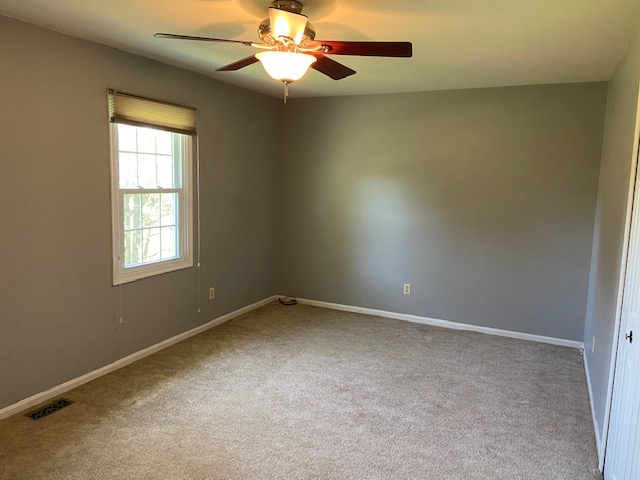
I moved our wifi set up, took down the border, spackled, painted the whole room, sold the non-Peloton bike to a friend, moved my Peloton, weights and yoga mats to my office, and Travis and friends took the elliptical apart and relocated it to his garage. Oh, and we also cleaned out the closet on the right-hand side of the room that was shoved full of the most random assortment of stuff you can imagine.

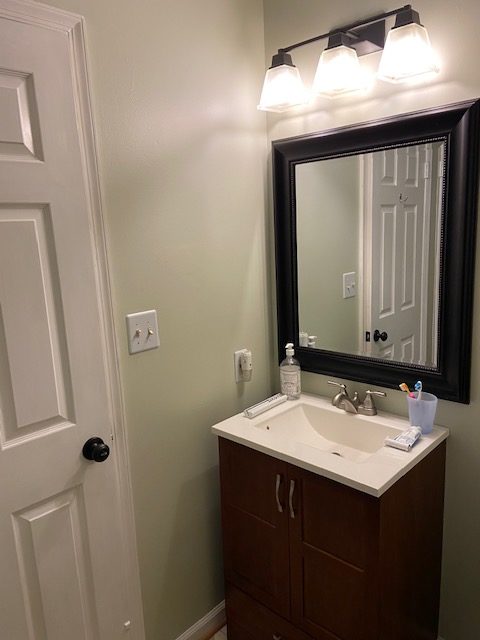
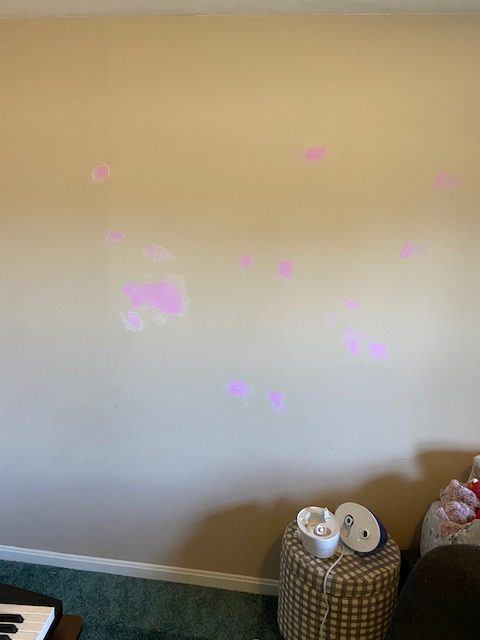
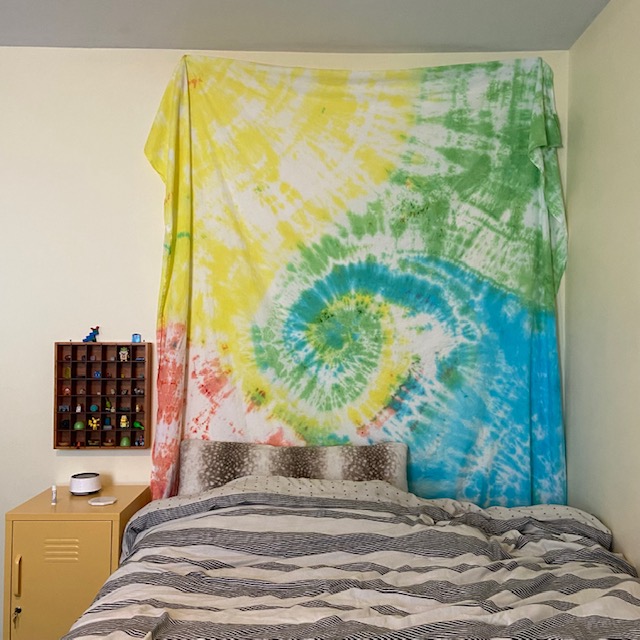
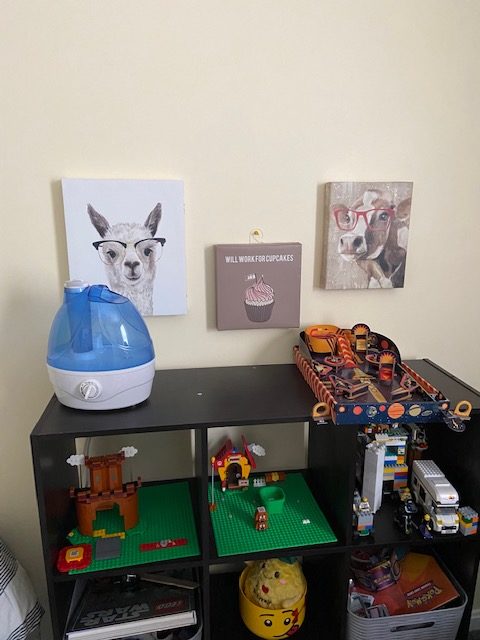
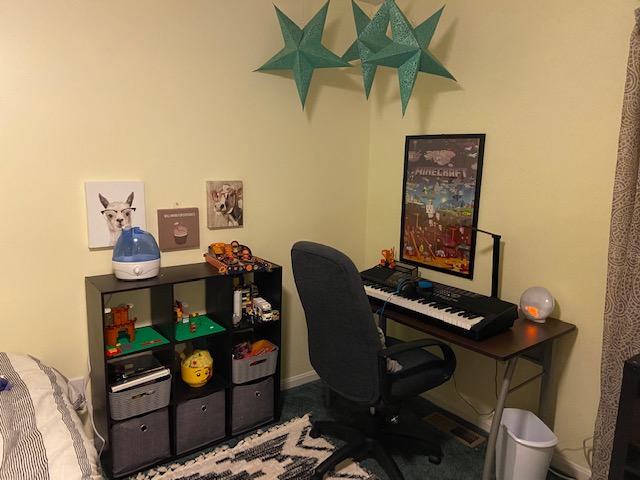
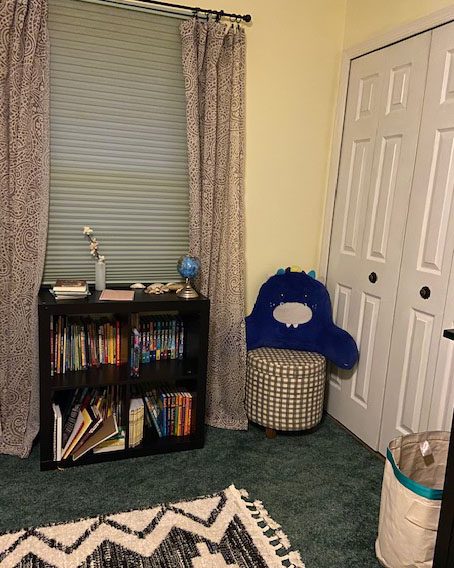
The rest of the room currently looks like this:

My walk-in closet in progress is on one wall and I’ll be throwing up some sheets to keep everything dust-free when the construction starts.

So, this project is about to snowball really quickly.

What we want:

  • A new master bathroom
  • A finished walk-in closet

What we are going to get:

  • A new master bathroom.
  • A finished walk-in closet.
  • New heat ducting running from the basement to the new bathroom.
  • New plumbing running from the basement to the new bathroom.
  • Our cased opening between the kitchen and living room reducing by 1 foot each side, for the new heat ducting and plumbing.
    • Resulting in: new drywall, trim, re-painting the kitchen, re-painting the living room and entrance.
  • Gaining 2 feet in space in our bedroom due to a wall moving.
    • Resulting in us having to re-paint the bedroom and re-carpet the bedroom. We will eventually be upgrading to a king-sized bed in the new space, which means new furniture, sheets, duvet covers, etc too.
  • Taking the old ‘master bathroom’ down to the studs and capping off the old plumbing to make a ‘his’ closet for Travis.
    • Resulting in: new drywall, trim, lighting, paint, carpet and closet accessories.

I think that’s most of it. I’m sure there will be more.

Right now, my dad is collecting everything we need for the project. Some items are scarce and hard-to-find due to supply chain issues, so we don’t want to rip things apart until we know we can put them back together.

I’m pretty sure the first thing he will be doing, is opening up the drywall so that he can run plumbing and heat ducting. Next will be building the new wall, which will make the bathroom and walk-in closet two separate rooms. I’m hoping to keep the existing carpet in the closet, as it is still in good condition. Fingers crossed! Also, once a new wall goes up, I can finish the walk-in closet, which is pretty exciting.

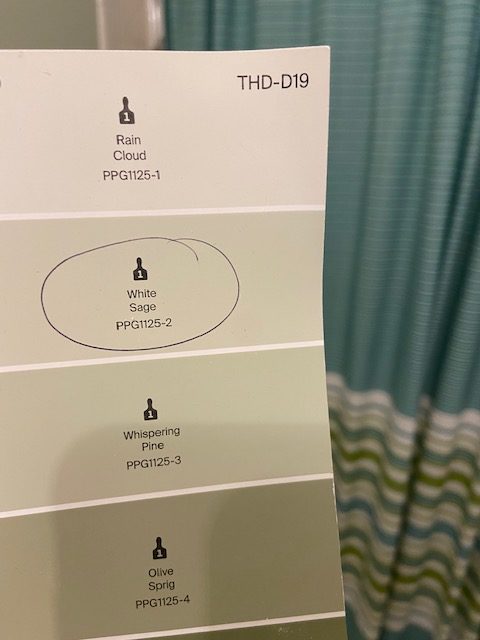
As for bathroom design, I’m planning to keep it super classic. We already own the cabinets (sourced from an old job by my dad), which I will be refinishing and painting dark blue. I’m going to do white subway tile for the shower walls, gray penny tile for the shower floor, and a gigantic glass door. The floor for the bathroom will be a gray plank vinyl.

As I said, the cabinets will be dark blue with a white marbled top and I’m hoping for a bit of a gray vein running through it. There will also be a poop closet for the toilet. Because, smells.

Source: HomeDepot.com

None of these are the actual exact things we will be using, but I just grabbed some inspiration images off the Home Depot website to give you an idea what we’re going for. I want to stick with super neutral and classic finishes, so that I can easily change things up with accessories without the room feeling dated at any point.

And here is my completely thrown together (not using any actual measurements) plan of where things will go:

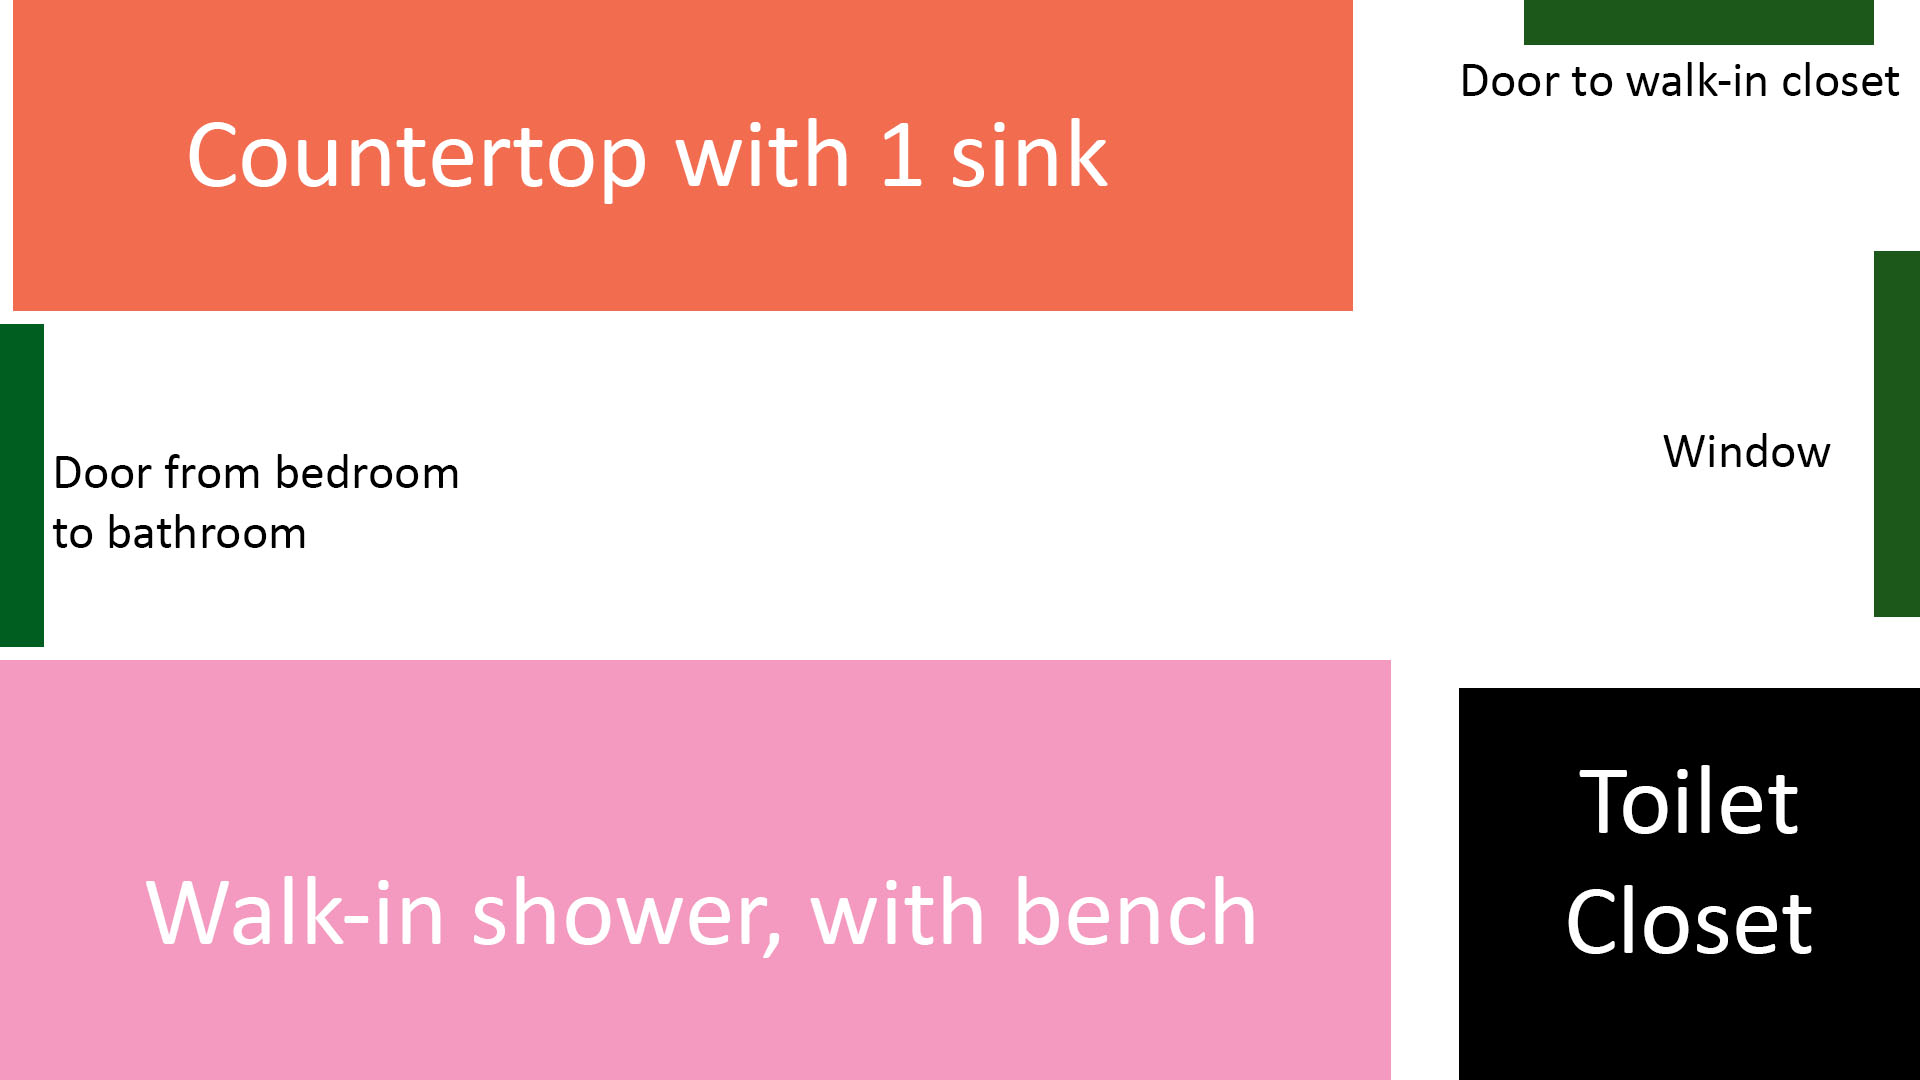
Just use your imagination. It will be great!

I hope.

Like what you see? Share me with your friends!

Jack’s Bathroom: Before & After

When I decided to give Jack’s bedroom a little refresh (see it here: Jack’s Room: Before & After), it also dawned on me that his bathroom could use a fresh coat of paint.

There was nothing really WRONG with it, but the blue color on the walls was just kinda… too blue. I don’t know. I don’t know why, just one day I decided I hated it.

Also, for some reason the inside of the bathroom door was painted a cream color, rather than the bright white of every other door in the house. So it just kind of seemed dingy and dirty.

And I do realize, I am pretty much the only person who would ever notice, because I stare at it while hanging out in the bathroom talking to Jack through the shower curtain while he takes a shower (I don’t know, the kid is weird). Anyways, I decided to do a little paint switcheroo.

I wanted something a little calmer and more muted on the walls. So, I went with Glidden’s White Sage. It’s like a whisper of yellowish green. Not too lime, but a little dusty.

I did 2 coats of painting the edges by hand with a brush and 2 coats of walls with the roller. While waiting for the walls to dry, I did one coat of bright white glossy paint on the inside of the door. All in all, it was super quick and only took me maybe a half of a day with the prep, painting, drying and clean-up.

I LOVE the change though.

I didn’t change anything else in the bathroom – keeping the same shower curtain, shelf and pictures – but it gives it such a better feel. So, even though nobody else in my household really cares… I’m happy with it and that’s what matters!

Like what you see? Share me with your friends!

Jack’s Room: Before & After

Jack’s room has been updated many times over the past 10 years. First it was his nursery with a crib, then we changed to a toddler bed, then he went into a twin bed and finally we switched it out for a queen bed. The queen bed was pretty much unplanned. My parents had an extra bed they didn’t want, so we gave it a home since it’s only a matter of time before Jack grows into a giant like his dad.

However, I never actually painted his room. When we moved in, it was a blegh medium brown color. Two weeks later I went into early labor and Jack was in the NICU for a month. I didn’t want to paint the room and bring a brand new NICU baby home to lingering paint fumes. And then I guess I just got busy… for 10 years.

All this to say, it was overdue to finally spend a little time in Jack’s room!

Here’s a little look at the “before”

Here are a couple photos from my 2020 post, Organizing Frenzy: Jack’s Room:

There was wasted space next to Jack’s bed, because there was a heat vent on the floor that we didn’t want to block. There were a surprising amount of holes and dents in the walls from stuff that had been moved around over the years. Drywall anchors make quite a big hole when you yank them back out! Also, lots of just random marks from markers and pencils and whatever else happened in there when I wasn’t looking.

First step was to spackle all the holes. I like the kind that goes on pink and then fades to white once it’s completely dry. I let that dry overnight and then gave it a nice smooth sanding the following morning.

Then, comes the paint. I went with Behr Frittata which was a light cream with a hint of yellow. My goal was to make his room feel less like a cave and brighten it up a bit. It actually looks pretty similar to the original brownish color in these pictures, but in person it’s much more light and bright.

It took three coats of edging and 2 coats of rolling the walls to cover the old brown color. And WOW did it make a difference in making the room feel so much brighter and cleaner!

Before we get to the reveal, I also made a few little changes:

  • I rearranged the furniture to put Jack’s bed on the opposite wall.
  • I switched out the flimsy triangle block organizer with a more sturdy version that was inside Jack’s closet.
  • I bought a yellow locker nightstand because it’s adorable and cost less than $100
  • I bought this fluffy rug from Wayfair for $109 to break up the dark green of the wall-to-wall carpet.

I also made this absolutely groovy tie dye wall hanging. And I had way too much fun making this Instagram Reel showing my process:

I’m thrilled with how Jack’s room turned out and he LOVES it too. I can’t get over how great the tie dye turned out and Jack loved it so much that he literally kissed it

The little yellow locker nightstand actually has a working lock, which was super thrilling for my treasure-hunter kiddo. The silly animals in glasses canvases were relocated to over the toy organizer. And the fluffy rug feels fantastic on your toes and brings in some more fun patterns!

And here’s a little “after” video:

The whole total of the change was about $300 between the paint, new rug and new nightstand. But Jack’s reaction to his new room was pretty much priceless!

UPDATE: I’m on a roll… I just made another Instagram Reel showing a quickie-speed version of the process.

Disclaimer: This post contains a ShopStyle affiliate link and an Amazon affiliate link. This means that clicking on a link may help me earn a small commission at no cost to you.

Like what you see? Share me with your friends!