Walk-In Closet in Progress: A $68 Update

I shared my mostly finished walk-in closet post back in early October (Walk-In Closet In Progress: The After) and I was pretty darn happy with it!

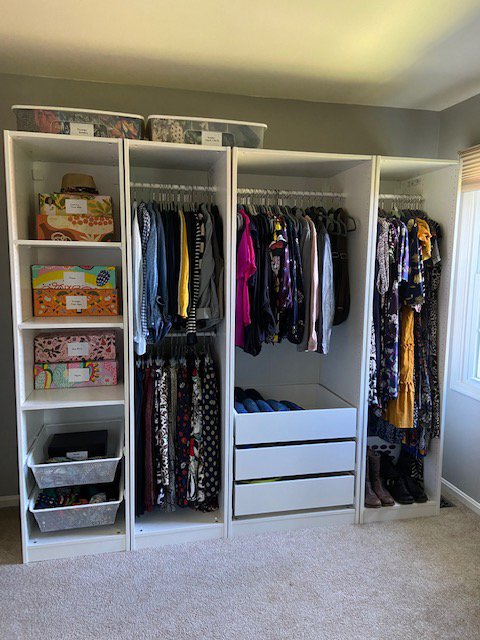
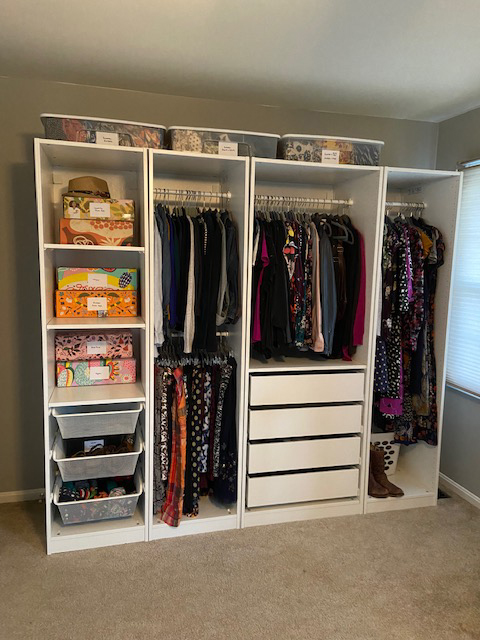
Here’s a photo to refresh your memory:

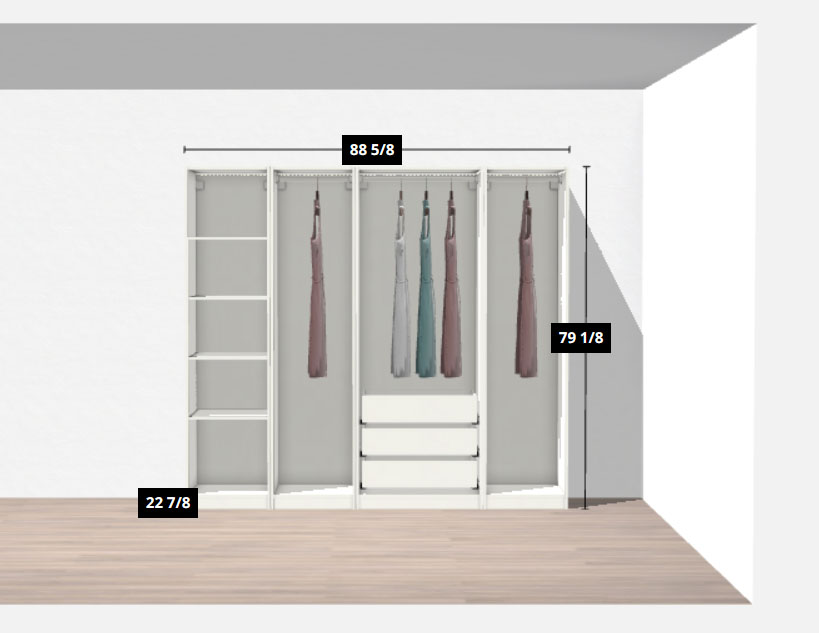
I used the Pax system and Komplement drawers from Ikea and spent a total of $575 + tax. {If you want the full breakdown with links, it’s in the full post linked above.}

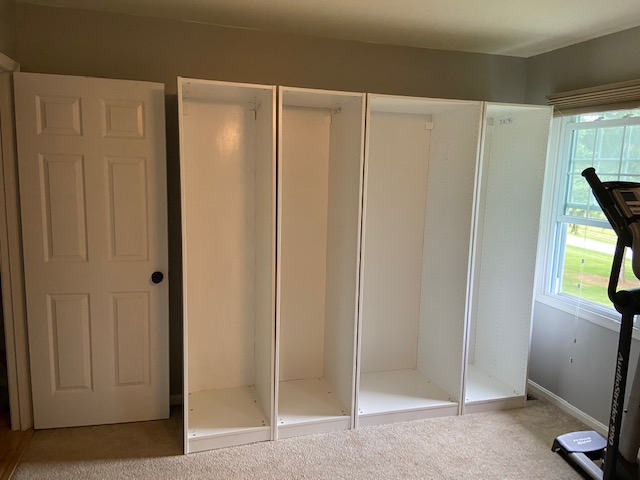
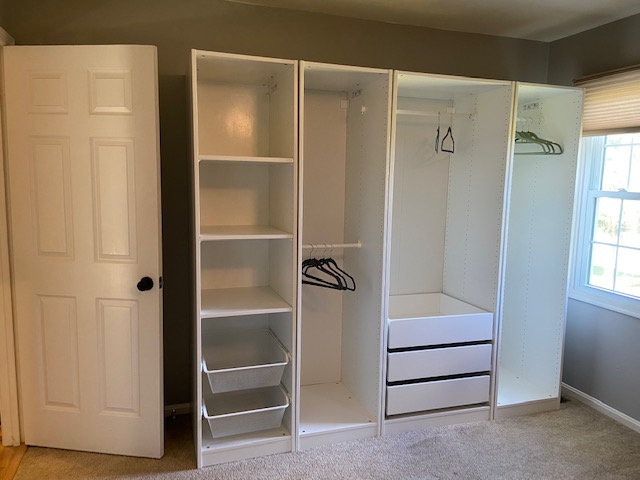
Once I added my clothing to the new organizer, I realized I had two awkward spaces.

The area on the far left could totally fit one more mesh basket. And the plain front drawer area could fit one more drawer. Ikea also had the large shelf I needed back-ordered until November… so I figured when the shelf came back in stock I’d also order the other items.

It took much longer than expected. First, one item would be available for pick up… but then the shelf would be out of stock. Then, the next day the shelf would be in stock… but the mesh drawer would be out of stock. I left everything in my online Ikea cart and would click over daily until finally over Thanksgiving weekend EVERYTHING was in stock at once!

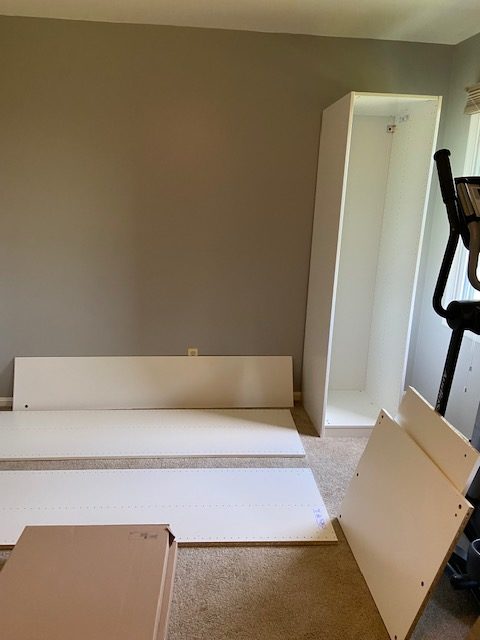
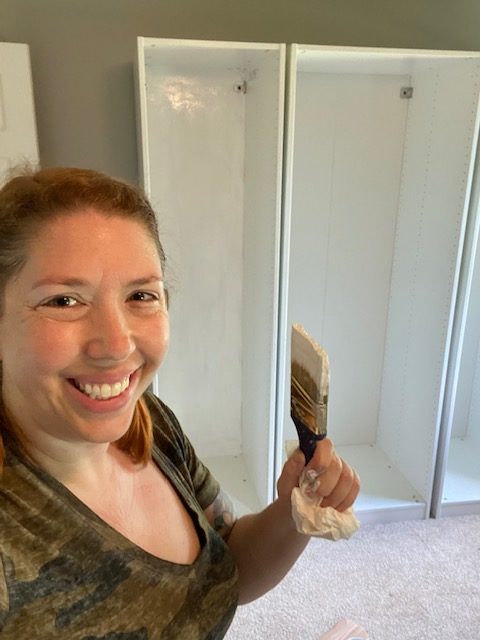
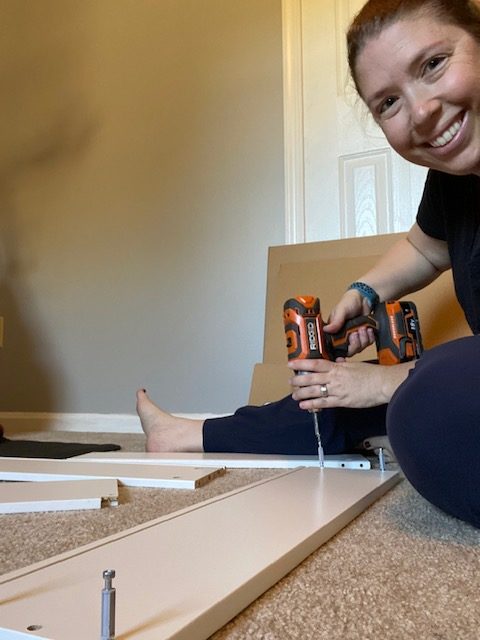
I arranged for a grab and go pickup for Sunday, drove out to Ikea and back and immediately grabbed my tools and got to work. Since I had already installed mesh drawers, shelves and plain front drawers, it was much easier than when I originally put everything together.

Just the addition of the three pieces (total additional cost $68) made a HUGE difference in everything looking much more *done* then before when I had the open spaces.

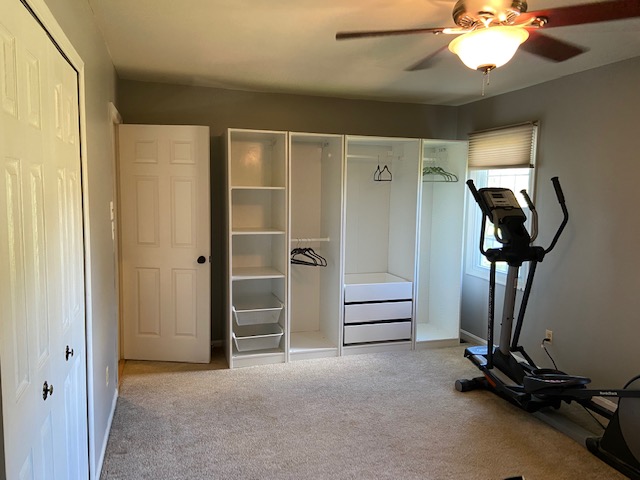
Here is the finished product:

I love that I gained two more drawers of space that would have otherwise been wasted. And that white drawer is HUGE too. Right now, it’s empty, but I think I’m going to use it to pack away my ‘in between weather skirts and dresses that I can’t wear with tights for the winter’ items.

This still isn’t the total FINISHED Walk-In Closet. So, there will still be more updates coming. It looks like we will be starting our bathroom project in the new year, so once we build in a bathroom and add another wall it will actually become a real walk-in closet.

Right now, I’m thinking once we have the new wall, I will either add a Pax box or two along with my existing shoe organizers. Or, I might just add a regular wire clothing rack for part of the area. Or both? Guess we’ll find out in 2022!

Like what you see? Share me with your friends!

Walk-In Closet in Progress: The After

When I shared my plans for my walk-in closet (find it here Walk-In Closet in Progress: The Before & My Plans), I had left myself with a ‘to do’ list for the room. Let’s start with a status update on each item and then get into the fun stuff like how much it cost and the finished product!

To do list status:

TaskStatus
Remove borderDone! This was a huge pain in the butt because while some of the border came off easily, other bits came off in little chunks of paper.
Pick out paint colorDone! I ended up choosing Greige from Behr. I bought 2 gallons and have about ½ gallon left for when we build a new wall into the room.
Sand tops of wallsDone! After removing the border there was a ridge between the unpainted and painted area. I spackled any holes or large divots and then sanded everything nice and smooth.
Move the cable modem setup to a different roomDone! I was able to move this whole setup to our living room, which is much more convenient.
Paint the wallsDone! This took a few hours of work and I did 2 coats on all the walls in the room.
Get rid of everything I don’t want to live in the roomDone! The old hallway carpet went out for trash, the small TV area of stuff went into the basement and I went through an old tub of office stuff that was literally 90% trash.
Build the Pax systemDone!
Live out all my organizing fantasiesDONE!

Here are some in progress photos from removing the border and painting the room:

On to the Pax System.

I ended up choosing the Pax System from Ikea due to price, the organizing options and the fact that I can always add more bits later. Here was my initial plan:

Source: Ikea.com

However, once I got to the Ikea store, I decided to add mesh drawers to the first box and another hanging bar to the second box.

Here is exactly what I bought:

  • 1 Pax wardrobe frame 29 ½ x 79 ¼
  • 3 Pax wardrobe frames 19 5/8 x 79 ¼
  • 1 Komplement clothes rail 27 ½
  • 3 Komplement clothes rails 17 ¾
  • 3 Komplement shelves 18 1/8
  • 3 Komplement drawers 29 ½

The total cost of the entire Pax system I purchased was $575 + tax. They were back-ordered on one shelf that will go above the three white drawers, so I’ll be picking that up in November. After loading the system with all my stuff, I will also be buying one more mesh drawer and one more white drawer to fill the open space so it’s not wasted.

Here are some in-progress photos of me building it.

I did make a mistake when building the third Pax box and accidentally put the backing on backwards. Rather than remove a bazillion nails and probably destroy the backing, I decided to just give it two coats of white paint. I built every single thing by myself with no help needed. However, once it got to the point of using the drywall anchors to secure each piece to the wall, I had my husband help because he’s taller. We did accidentally destroy one drywall anchor, so a few days later he picked me up a few options of toggle anchors which worked perfectly.

Here is the finished Pax before I added anything to it:

Now to the fun part… the organizing!

My clothing is all over the place — it lives in a small closet in my room + a small closet in my office + my dresser in my room. I think there is a storage bin under my bed too. My pet peeve is that since the closets are small-to-standard sized (with bi-fold doors), I usually pack away all my off-season clothes and store them in the office. So, if I ever need anything off-season, like a swimsuit, it’s a huge mess of having to dig through a bunch of stacked boxes in the office closet to find anything.

My plan with the walk-in closet is to have all my clothes in one place. I’m starting with this one wall of Pax systems, but after we build the bathroom and add a wall to the closet, I plan to relocate my current wire clothing rod to this area. I will also add my shoe storage and may end up adding another Pax box or two depending on how everything comes together. All this to say, that this is not all of my clothes. Yet.

Here is how I organized:

  • Pax 1 (far left) shelves: This is where I used my old FabFitFun mailing boxes and index cards to organize things that I need sporadically. There are boxes for: layering tank tops, summer tank tops, shoe care, Thinx, and tights. One box is currently empty so I have room to grow. In the mesh drawers are all my swimsuits/coverups (bottom drawer) and scarves/winter gloves (top drawer). As you can see, there is plenty of room to add a third mesh drawer… so I’m going to add one to fill the wasted space.
  • Pax 2 (second from left) clothing rods: This is where I have my toppers (cardigans, button up shirts and lightweight jackets) for work on the top. All my skirts are hanging on the bottom rod. This isn’t actually ALL my skirts, as summer skirts are packed away in the tub on top of the Pax system. I also have a few wintery skirts that are still living in the office closet for now.
  • Pax 3 (third from left) clothing rods and drawers: All my blouses are in the top section – solids first (tanks, short sleeves, long sleeves) and then prints (same). I also have my fancy Rough & Tumble bags hanging in this section. The drawers contain jeans (top drawer), sweaters/long sleeves (middle drawer) and empty for room to grow (bottom drawer). Since there is free space, I will be adding a fourth drawer and topping it with a shelf so you can’t see inside.
  • Pax 4 (right) clothing rods: This is my dress section. Once again, not ALL my dresses as I have summer dresses stored in a container on top of the Pax system. On the floor of this section, I have an empty laundry basket for my ‘to donate’ pile and two pairs of boots.

I mentioned shoes, but as you can see there are no shoe organizers in this room yet. Once we remove the elliptical machine, I will be putting my shoe storage against the wall under the window. I think I might also be adding a mirror to that wall at some point.

It took me almost a full week to organize my clothing into the Pax system because I was trying to be super strategic about what I added. For each section, I purged items that I no longer loved and either added them to my Poshmark closet or put them in my ‘to donate’ bag for the thrift store. Being able to see everything I have is really helpful in determining what I need. Or don’t need. I also like having that small laundry basket ready for any future donations. When you put on an item and it doesn’t fit, it’s super easy to just add it to the donate bin and move on.

It’s a work in progress, but so far, I’m LOVING it.

Like what you see? Share me with your friends!

Walk-In Closet in Progress: The Before & My Plans

Well, I am one step closer to launching my walk-in closet plans… but like many projects it has already started to snowball.

As I mentioned back in July, our plan for our extra bedroom is to one day turn it into a fabulous master bathroom/walk-in closet combo. For now, it’s serving as my exercise room.

Anyways, a few months ago I had the idea to start working on my walk-in closet plans by starting with one wall. That way I can start using it NOW and also pay for it in little chunks, rather than do it all at once with the master bathroom renovation project.

I decided to move forward with my Ikea Pax plans (you can find them in this post, but I did end up changing a few things due to store availability). I taped off the area so that I could envision it:

The blue painters tape on the wall is the height of the wardrobe and the square on the carpet is its exact footprint.

With that plan in mind, we drove up to Ikea on my birthday so I could oooh and ahhh and touch all the things. We bought everything we needed for the project and dragged all 18 boxes up to our second floor so I could look forward to building it.

My plan was to rip down the wallpaper border, install the closet and live with it like that for a few months until my dad is able to get to our bathroom project. Our current plan is to start the full renovation this winter (he says December, which I interpret as early-Spring).

On my lunch break at home on Monday, I decided to give the border a little tug to determine whether its removal would be an easy project or a pain in my butt.

The good news is that the border is peel-and-stick and mostly comes off in larger chunks. The bad news is that the previous owner put the wallpaper up before painting the wall. So now I have a nice thick unpainted white border.

Sigh.

I guess it’s fine though. I mean, I always hated the poop brown color. I might as well repaint the whole room. Even though half of it will one day be a bathroom. Hmm… maybe I’ll repaint just most of the room? Actually, the Pax wardrobe will cover most of the wall. Perhaps I’ll repaint just some walls. DANG IT. Okay, I’m currently undecided on how much painting I’ll be doing… but there will be paint.

My new ‘to do’ list for this room is:

  • Remove border
  • Pick out paint color
  • Sand tops of walls so you no longer feel a ridge between the unpainted and painted area
  • See if I can move my cable/modem setup to a different room
  • Paint the walls
  • Get rid of everything that I don’t want to live in the room anymore (an old hallway carpet, the small TV area with exercise DVDs that I never use, etc)
  • Build the Pax system
  • Live out all my organizing fantasies

Let’s talk paint colors! The room will eventually be filled with the white wardrobe built-in systems, so you won’t really see a lot of the wall color. So, I wanted something that looked good with the white of the wardrobe and the tan of the carpet (which is thankfully in good condition).

I’ve narrowed it down to Greige or Ashberry. Both colors look good in the natural light that comes in the windows. They also look nice next to the white of the Ikea wardrobe and the tan of carpet. I think I’m leaning towards the Ashberry. But as soon as I say that, I start looking at the Greige.

Current Project Timeline:

I pulled about half of the border down on Monday night and I’m hoping to finish that project tonight after work. Then, I’ll give the walls a quick sanding to smooth out any bumps. The old hallway carpet is going to the curb for trash pickup tonight and I already dragged the small TV organizer into the basement.

I’m going to poke around and see if I can move my cable/modem to a different room tonight or tomorrow after work if I have the energy. I think there may be an unused cable jack in the living room, but I need to dig around for it.

So maybe a Home Depot run at lunchtime on Friday to pick up the paint. If all goes according to plan, I’ll be painting on Friday night or Saturday with the goal to start building the wardrobe on Sunday!

Like what you see? Share me with your friends!