My Walking Pad and Standing Desk Set Up

I had been considering buying a walking pad for my home office set up for years and I finally ordered one in May. Now that it’s been comfortably living in my house for a couple months, I wanted to show you all my set up and what I’ve found works for me (so far).

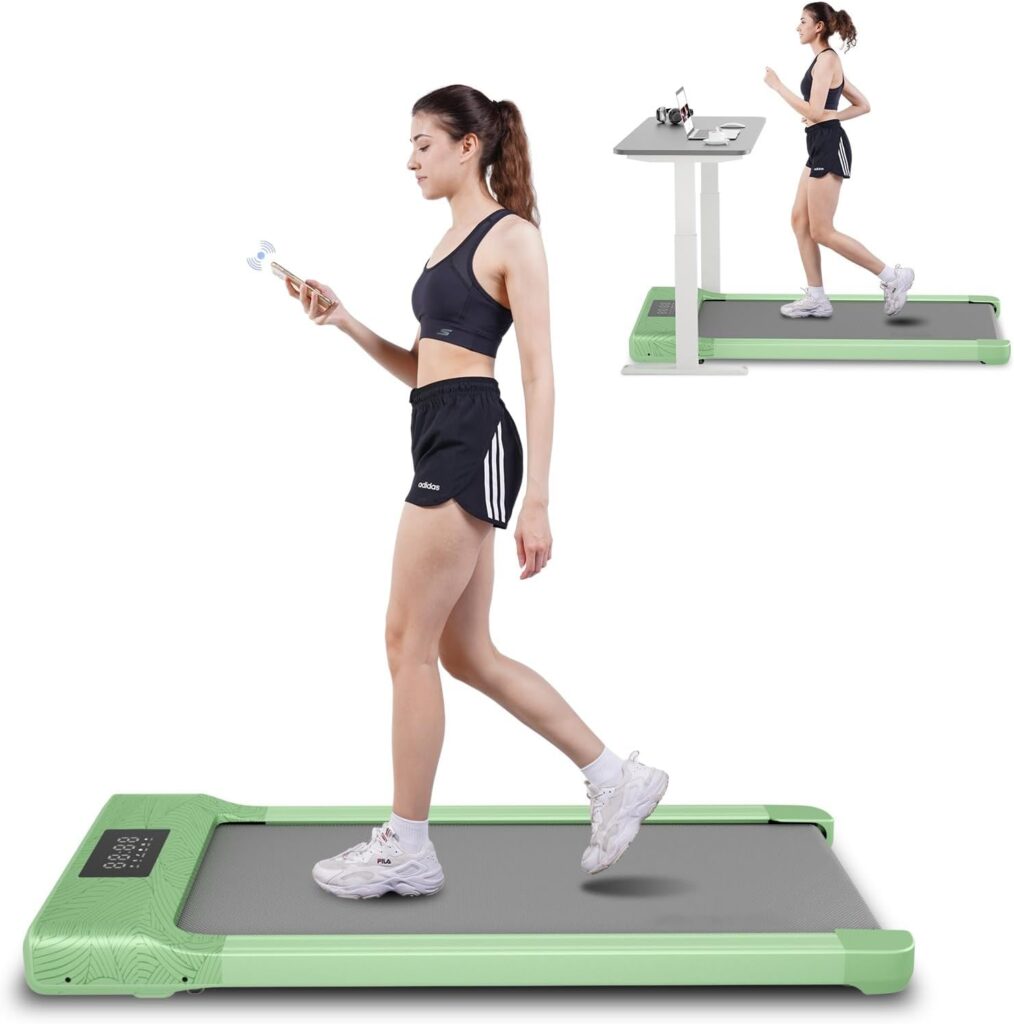
Here’s what I purchased:
Source: Amazon.com

SupeRun Walking Pad: https://amzn.to/4cny6Gl

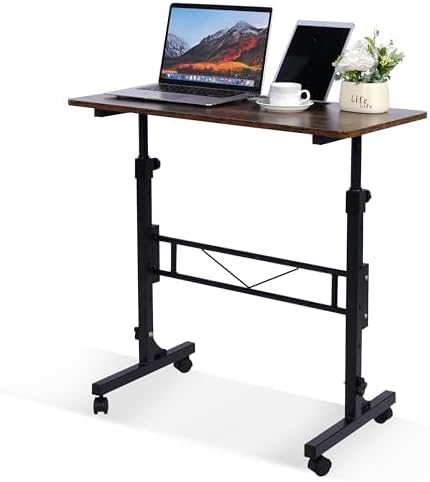
Adjustable Height Standing Desk: https://amzn.to/4dJ9F7i

The walking pad I purchased fluctuates in price – the list price is $299, but I’ve seen it for $125 – $160 over the past couple months. As of today, it is $159.99 with free shipping + a $20 off promotional coupon. The desk was $69 when I bought it, but is now marked as unavailable. Which is fine because I wouldn’t recommend buying it.

For those new to the idea of walking pads, they are basically a flat treadmill that doesn’t have any sides/handles to hold onto. You put them underneath a standing desk, so that you can work while you are walking. On my work-from-home days I’m basically glued to my chair all day, so I thought it would be a nice way to give me a break. I also wanted the heart benefits of getting in more activity throughout my day.

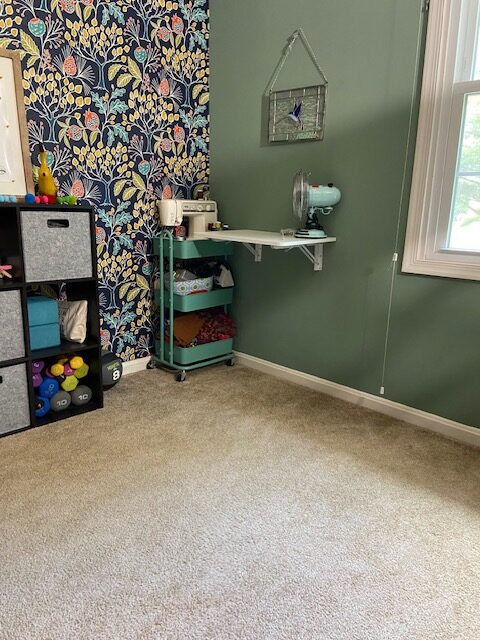
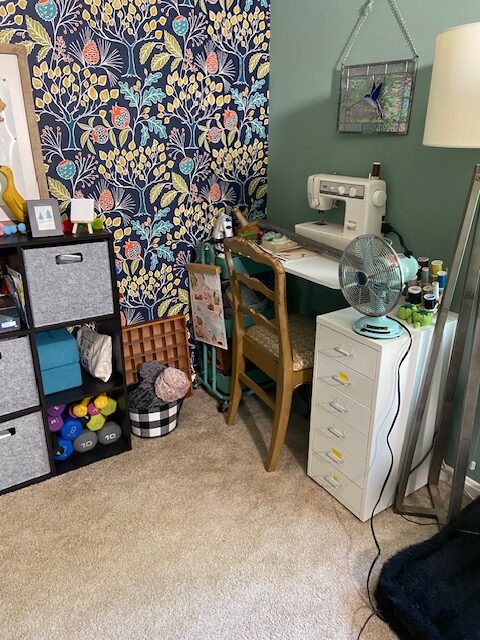
Here is what that side of my home office looked like before I made the purchase:

I use it as my sewing corner, with my machine set up on a collapsible table. However, it was pretty easy to move some things around to streamline it a little.

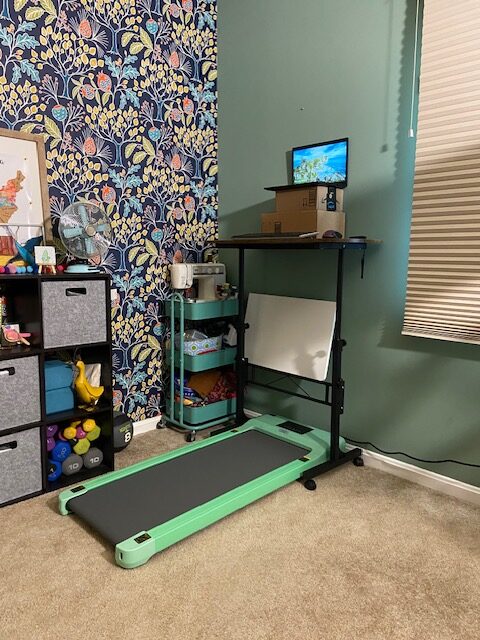
I collapsed the sewing table and added the walking pad and standing desk. Now, when I need to sew something, I roll the walking pad and desk out of the way, lock the table in place and work away. It’s not as convenient as having it set up and ready to go all the time, but this is the space I have to work with.

As you can see, I still needed to prop my laptop up on a couple boxes in order to get the screen to the right height for me. A more ideal situation would be to have a docking station (like I have on my regular desk) where I can plug my laptop into a larger monitor. However, like I said… working with what I have.

After having this setup for the last 2+ months, here is how it works best for me:

Option 1: I start my workday with a 30-45 minute walk while doing those morning work tasks like checking emails and laying out my day. I am bouncing around a bit when I walk, so it’s a good time for reading and researching, but not great for finicky things like web updates where I need to click the mouse on a little tiny box. After I do my morning stuff, I then move the laptop back over to my main desk, make myself some coffee, and get on with my workday.

When I start the day with a walk, it helps me feel more productive right off the bat. I also set my watch with an alarm that goes off regularly to encourage me to get up and take a 5-minute walking break. I can’t always stop what I’m doing for a 5-minute break, but I’m usually able to get in about 10-15 more minutes of walking throughout the day.

Option 2: If I don’t start my workday with a walk, I try to take a morning break for a 5-10 minute walk with hand weights. I grab a couple 2 pound weights and just do nonstop arm exercises during the duration of the walk (most moves from Tunde arm workouts on the Peloton app). Just 5 minutes here and 5 minutes there is enough for a little burn by the end of the day. I also try to start my lunch break with a 10-minute walk, just to get some extra steps into my day.

Option 3: If I finish a big brain task, I get up and do 5 minutes on the walking pad.  This is especially great if I’ve been doing a lot of design work, where I basically hunch over the keyboard for too long and get all stiff. It doesn’t add up to a ton, but 5 minutes here and 5 minutes there helps me feel better at the end of the day. Both mentally and physically.

Once school starts back up for Jack, I’m looking forward to using my walking pad more consistently in the mornings. His bus usually comes about 45 minutes before my workday starts, so that’s a great amount of time to set up my kindle for a book or Netflix show and start my day with a little activity.

As I mentioned above, I would NOT recommend the standing desk that I purchased. While it is the size and height that I wanted for my little corner, it is not super sturdy. When I’m walking and leaning on my desk, it moves a bit which is super annoying. I actually have a little piece of padding between the desk and the wall to help with the swaying. If I were re-purchasing, I would pick something with more sturdy legs.

However, I WOULD recommend the walking pad I purchased. It’s super easy to set up, relatively lightweight for moving it around the room when needed, a great size for walking, and feels secure with a weight capacity of up to 300 pounds.  

I’ve been averaging 2 days a week with some extra steps on my walking pad and I anticipate using it a lot more in the near future. It’s really nice to have a convenient option for getting steps in as a little ‘brain break’ throughout the day. And I’m sure it will be extra nice once winter hits too!

Disclaimer: This post contains Amazon affiliate links. This means that clicking on a link may help me earn a small commission at no cost to you.

Like what you see? Share me with your friends!

My Style: Style Remix with a ‘Fancy’ Tulle Skirt

Last month, I started a new series based on some feedback on my PocketfulofJoules Instagram account. A very sweet Instagram friend sent me a DM saying how much they enjoy seeing different ways to style the same items over and over again as inspiration for their own looks. (Psst…you can find a bunch of these saved under the “OOTD Breakdown” highlight on Instagram). So, I thought it would be fun to start highlighting some remixes here on the blog.

You can find my previous post here:

For today’s highlight, I’m going to focus on remixing a ‘fancy’ tulle skirt.

Rather than wearing an extravagant skirt once for an event and then shoving it into the back of the closet as something that is too festive for daily life, I like to wear them year-round!

Let’s take a closer look at how I have styled three ‘fancy’ tulle skirts.

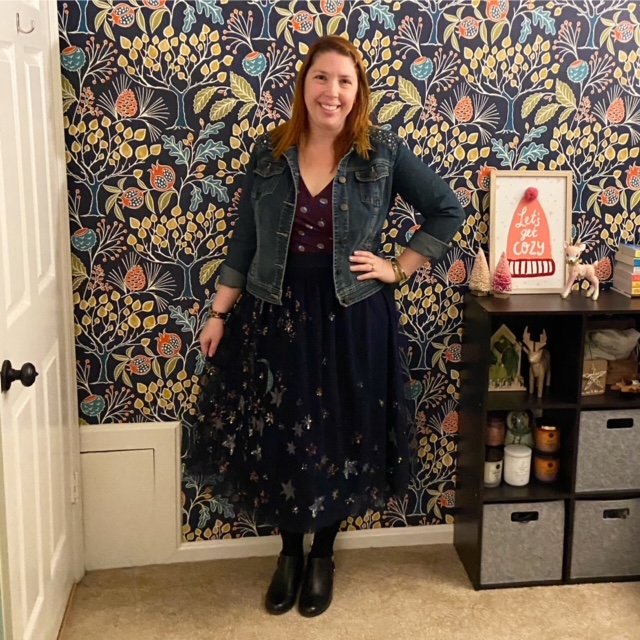
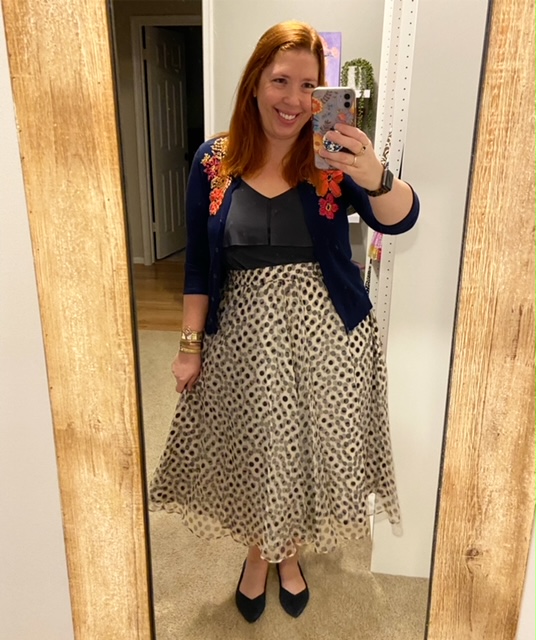
This first skirt is a blue tulle + moon and stars skirt I purchased secondhand, but was originally from Anthropologie. The top left look is how I styled the skirt for a day in the office, followed by a work holiday party (December 2022). The top right is my sisters, mom and me at the Taylor Swift Eras tour (May 2023) and I paired the tulle skirt with a thrifted sequin tank top for the perfect “Midnight’s Era” outfit.

Both the bottom looks were for chilly outdoor events — it’s nice to feel a little extra sassy when you’re freezing your butt off! The outfit on the left is from an outdoor holiday event in December 2023. And the outfit on the right is an extra bundled up version from when Jack and I went exploring in NYC for his birthday trip (February 2024).

While this is a fancy tulle and sequin skirt, I was able to take it down a notch for work by pairing it with a denim jacket. It was also great for outdoor events, because I could easily layer it over a pair of fleece-lined tights and boots.

Here are two other tulle skirts I own and wear regularly:

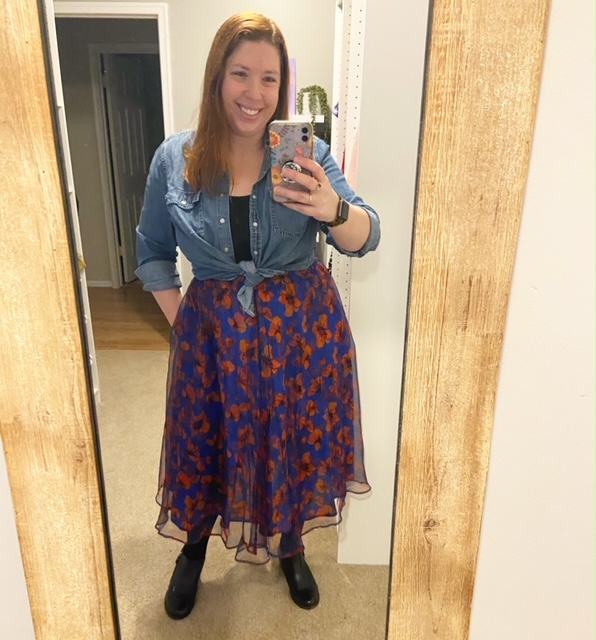
Once again, an easy way to neutralize the dressiness of a more formal skirt is to add denim — whether it be an embroidered jacket, denim blouse or a classic denim jacket, it helps the skirt easily sneak into everyday life.

Adding a solid top and a cardigan is also a simple way to dress-down a skirt. You can play with the colors on whatever you have in your closet and you’ll be surprised at how many combos you can find. Last, for the weekend (or a trip to Universal Studios), just add a graphic t-shirt!

I hope you like this new series and please let me know if you have a particular item you want me to highlight for you!

Like what you see? Share me with your friends!

Our Favorite Banana Chocolate Chip Muffins Recipe

Source: Photo by Yasin Aribuga on Unsplash.

I just made another batch of these and thought it was a perfect time to re-share the recipe since I’ve made a couple little improvements!

Each week, we buy a bunch of bananas at the grocery store. Most days, Travis packs one in his lunch… but occasionally there are 2 or 3 looking overripe sitting there staring at me on Saturday morning. Which is when I pull out my trusty Banana Chocolate Chip muffins recipe and throw a batch together.

I’m not even a big banana person, but a warm muffin right from the oven with a little slap of butter on it is pretty delicious. We’ve been making these since 2020 (Quarantine Baking: Banana Chocolate Chip Muffins) based on my sister’s recipe and over the years I’ve made a couple recipe tweaks, so now they are completely irresistible!

Ingredients:

  • 1 ¾ cups flour
  • ½ tsp cinnamon
  • ½ tsp baking soda
  • 1 tsp baking powder
  • 2 eggs
  • ¾ c sugar
  • 2-3 overripe bananas
  • 3 TBSP vanilla or coconut greek yogurt (you can also use sour cream if you have it sitting around)
  • ¼ c canola oil
  • ½ tsp vanilla extract
  • a couple handfuls of DARK chocolate chips

Step 1: Get ready for yum.

Preheat oven to 355 degrees and wipe some canola oil around your muffin cups (or use muffin cup inserts).

Step 2: Combine dry stuff.

In a smaller bowl, combine flour, cinnamon, baking soda and baking powder.

Step 3: Combine the wet stuff.

In a larger bowl, combine eggs and sugar. Mix until creamy. Smush the bananas out of their skin and mash them into the mixture with a fork. Really get in there and squish them and mash them and stir them around. Add yogurt/sour cream, canola oil, and vanilla extract. Stir until mixed.

Step 4: Mix everything together for a banana muffin party.

Add the dry mixture to the wet mixture (that’s why you used a bigger bowl) and mix everything together. Add a couple handful’s of dark chocolate chips. Put equal-ish portions into your muffin cups.

Step 5: Bake

Bake for 20 minutes. Check to make sure they are done by inserting a knife into the middle of a muffin or two. Let cool for as long as you can stand smelling the banana chocolate chip goodness, then cut in half, stick some butter in there and enjoy!

This makes about 12-16 muffins. Once completely cool, store in a Tupperware and enjoy all week. (Pro tip: Do not put the lid of the container on until they are completely cool, or else they get weird and mushy on top.)

Like what you see? Share me with your friends!